The appearance of cracks / chips on the windshield - attack, which can overtake any car owner. If the repair of cracks on the windshield for some reason fails or is impossible at all, then there is only one way out: to completely change this part. Both for reasons of personal safety, and because the presence of damage on the windshield will create certain problems during the passage of the annual technical inspection. Another reason for replacing the windshield can serve as its depressurization.
Content
- 1 Should I change the windshield myself
- 2 Sequence of work when replacing the windshield
- 2.1 Preparation for work
- 2.2 Dismantle the old windshield
- 2.3 Preparing to install the windshield
- 2.4 Installing the windshield
- 2.5 Final operations
Should I change the windshield myself
It is no secret that any car repair is a serious blow to the family budget. Therefore, it is necessary to look for items to reduce costs. Just replacing the windshield with your own hands allows you to save a considerable amount on car-care center services. Moreover, this process is not complicated, does not require special professional skills and fundamental knowledge. The tools used are the most common. All (or almost all) necessary for repair can be found in the garage. It is only necessary to follow a certain order of work, as well as to do everything carefully.
If the glass is whole, but water gets into the cabin during rain, then only a degreasing agent and sealant will be needed. We need to find a place where the glass is not adjacent to the body and fill the gap with sealant, pre-degreased working area. Often this is enough to not change the glass. If unsuccessful attempt to glass will have to completely reinstall. If the replacement of the windshield with a new one is inevitable (or it was necessary to reinstall the old one), then you need to perform a number of simple operations.
Sequence of work when replacing the windshield
All operations of the technological process are divided into several stages, one after the other. In the course of the job description lists of tools and materials that will be required.
Preparation for work
Before you change the windshield, prepare the garage. It should be dry, warm, well ventilated. It is necessary to provide unhindered access to the front of the machine and on the sides (in the area of the front door). If the floor surface has a slope, it is highly desirable to provide a horizontally flat area.
Ask for a friend's help, i.e. find yourself an assistant: the two will be faster and much better.
Be sure to wash, dry the car.
Dismantle old windshield
For a careful disassembly of the glass, you will need the following tools:
- screwdrivers of various sizes;
- wrenches;
- construction knife or shoe;
- cutting string (twisted round) or sawing (square-cut);
- awl;
- suction cups for carrying and holding glass free - an optional, but very desirable, useful fixture.
The knife and string are interchangeable instruments: choose the one that works best.
See also: Local repair of chips and scratches on the car body: how to clean do it yourselfTo remove the old glass, you must first dismantle all overhead and attachments that are in contact with it. For example, windshield wipers, windshield washer hose, sensors with wires running to them, various seals, protective / decorative plastic parts, canopies ...
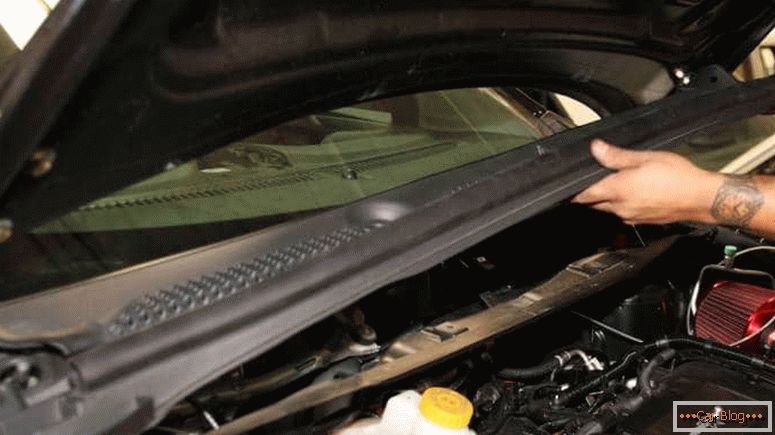
Before dismantling the old windshield it is necessary to remove all mounted elements and parts.
Cover the front seats with a film, a polik, a dashboard - then clean up less in the cabin. Lay on the hood of an old blanket. Now you can proceed directly to the removal of the windshield.
If the glass is not suitable for further use and it is one way to the dump, then you can try to squeeze it out from the inside. Be sure to protect your eyes, face, hands. Don't copy action heroes knocking out the windshield with their feet. Although such advice is present on the Internet.
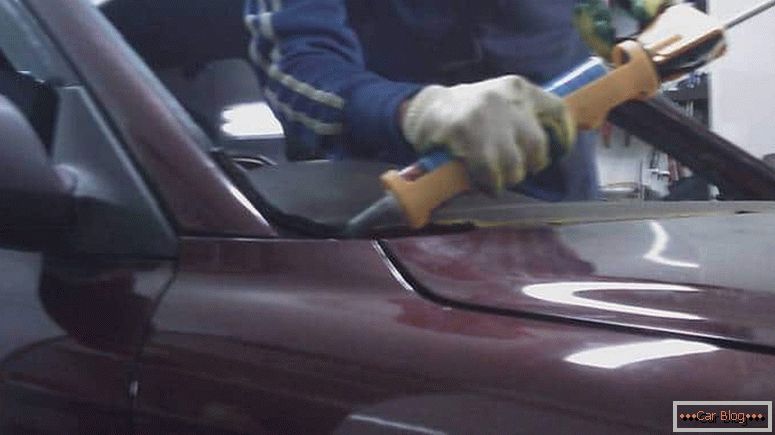
Between the glass and the window opening of the body there is a layer of sealant that needs to be cut or sawed along the contour. To do this, use a knife or string. If you use a string, then you need to pierce a layer of sealant with an awl and insert the end of the string into the hole. Now you need to put the handles on the ends of the string (it will be more convenient to work and you will not cut yourself). If there were no handles in the kit, then it is not difficult to make them from two suitable pieces of wood. Together with the assistant, we grab the handles from inside and outside the cabin and begin to stretch the string around the glass, cutting the sealant layer. At the same time we do the movements back and forth, similar to work with a two-handed saw.
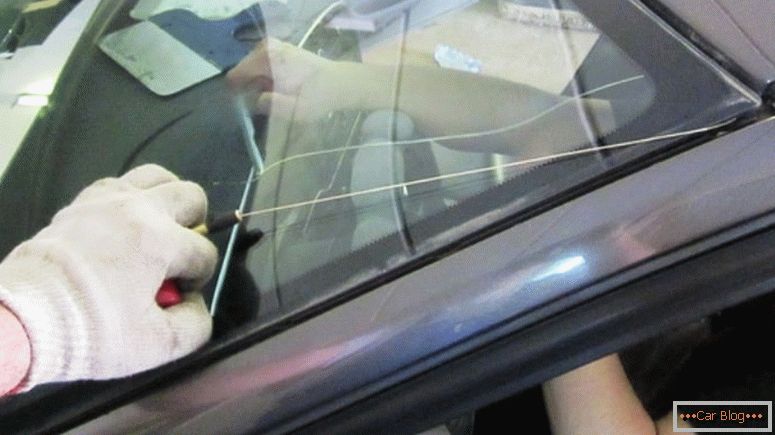
Cut the windshield through the string better with the assistant
No need to try to cut the seal clearly along the edge of the glass or car body. It is more important not to damage the glass, the torpedo, the interior plating, the body paintwork. The remains of the sealant then leveled or even removed.
When the entire perimeter is covered with a knife or a string, you can remove the glass (suckers will be very useful here).
Preparing to install the windshield
At this stage, the following tools and materials are needed:
- stiff brush of bristles or fishing line (for example, clothes);
- sharp chisel or knife;
- White spirit solvent;
- degreaser;
- primer (primer);
- activator.
First you need to clean the body of sand, dust and glue crumbs with a brush or a powerful vacuum cleaner. If the old glass is installed again, then you need to clean it too. Cut the old glue with a chisel or knife. On the body should remain a strip with a constant thickness along the entire length. This strip will provide better adhesion of the glued elements. If leaks were observed before the repair, then the old sealant should be removed completely (to the metal).
Places in which the glue layer has spilled out should be degreased with White spirit and covered with a primer. Make sure that the primer does not get on the glue (otherwise it will crack and spill out). If corrosion is visible somewhere, it is first necessary to remove rust in a suitable way. It is desirable to additionally clear small areas along the edges of rust, since affected space may be more visible.
See also: How to paint a raptor car yourselfThe sealant layer that you left must be degreased using a special set of agents or an antisilicone degreaser. After drying, activator is applied with a brush or swab - a special liquid to improve the adhesion of the old and new adhesive layers.
Installing the windshield
The list of materials and tools that requires installing a windshield with your own hands, looks like this:
- rubber seal (molding) - it is better to buy a new one;
- glue (sealant);
- sealant gun;
- Scotch tape (plain paper and paint).
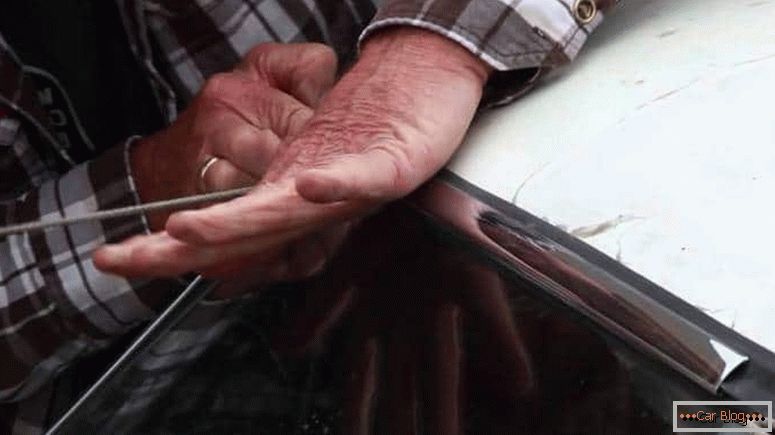
Clean the windshield from dust and degrease around the edges. Put on the glass molding.
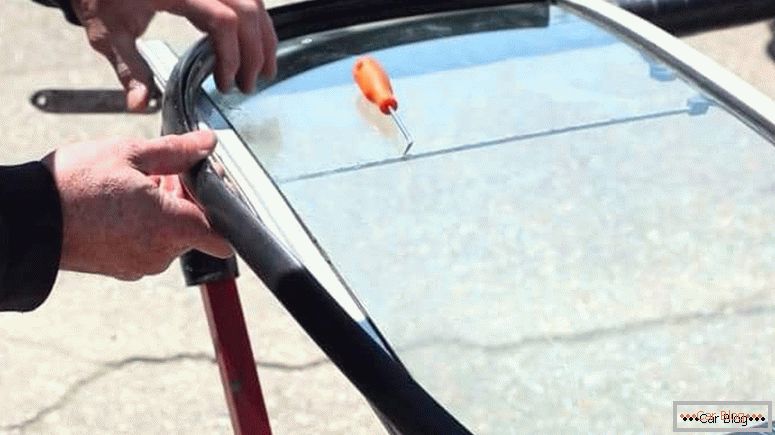
A rubber seal is put on the cleaned windshield.
Perform a fitting. To do this, put the glass to the body. Shifting to the right side, center and adjust the clearances. Use wedges if necessary. After that, stick paper tape around the perimeter. While holding the glass, cut the tape with a knife along the seam, pull the glass out. It turned out labels that will immediately set the glass to the right place. Labels can also be made with a marker, making marks on the glass and the body.
Glue adhesive strips after fitting the windshield for a quick fit.
Now we proceed to the installation of glass. To properly glue the windshield, you must first prepare the glue to work. To do this, cut off the tip of the dosing tube. The lower the cut is, the thicker the sausage of the sealant will be when extruded. The width of the layer should be in the range of 5-10 mm. It is also very important that the applied adhesive layer has a triangular shape (acute angle up) in cross section. The height of the top point depends on the angle of the tip. Therefore, do not neglect the instructions on the packaging: strictly follow it.
More simple and high-quality application of glue will make the can heated to a temperature of + 40ºC. The glue will become less viscous and dense. To do this, just put it for a few minutes in hot water.
Sealant must be applied with a special gun.
Apply glue (always in a uniform layer, without breaks and flows). It is better to start from the middle of the bottom side and move clockwise until docking at the starting point. Experts recommend applying sealant to glass. But if there are no suckers, then it is more expedient to impose it on the body opening.
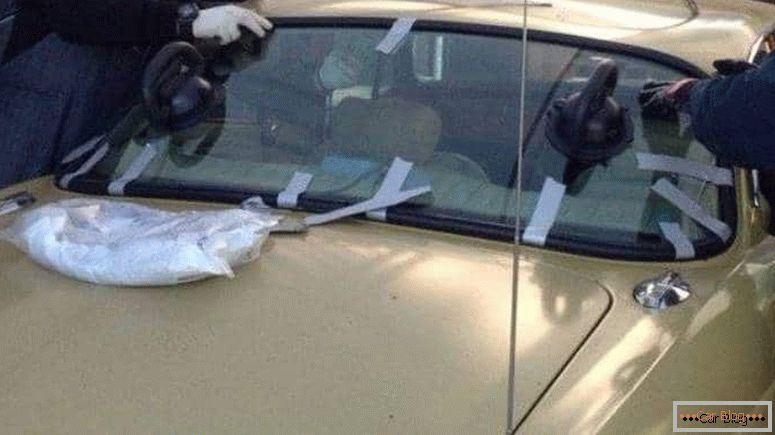
After applying the glue immediately attach the windshield in place, focusing on the mark made earlier. Now you need to press the glass to the body. This should be done with little effort, not to allow distortions of the glass in the plane of the opening, as well as bias to the side. Make sure that the glass is installed correctly, then fix its position with several pieces of masking tape. Leave the car for at least 24 hours alone, avoiding any body vibrations.
The glass installed in the opening must be pressed with hands with light pressure.
Final operations
After the glue dries, remove its excess, remove the tape and drive the machine to a high-pressure washer to check the tightness of the newly installed glass. Next, restore all the dismantled parts, elements. Replace the gum on the wiper blades, and adjust the gap to avoid scratches and scuffs on the windshield.


