Even the youngest and inexperienced driver is able to hear the unpleasant hum from the front wheels. It noticeably increases with increasing vehicle speed. The most likely problem for its occurrence is the failure of a rolling bearing. This part cannot be repaired, so only the front hub bearing need be replaced.
Work can be done independently with the necessary set of tools and repair kit. For the procedure even suitable garage conditions.
Content
- 1 Carrying out diagnostic work
- 2 Adjustment work
- 3 Preparatory operations
- 4 Dismantling
- 4.1 First option
- 4.2 Second option
- 4.3 The third option
- 5 Installing a new bearing
Diagnostic work
Операции по выявлению состояния ступичного подшипника проводятся на отечественных автомобилях не только во время движения, но и во время стоянки авто. Чтобы диагностика оказалась более точной, перед тем, how to replace front wheel bearing, выполняются определенные действия.
The problematic side is lifted with a jack. The car is pre-placed on the handbrake, and the wheels are set to kickbacks. A reliable support is established under the lower lever, and then slowly we transfer to it the weight of the car with the help of a jack. As an insurance against possible slipping, an additional emphasis is placed under the body.
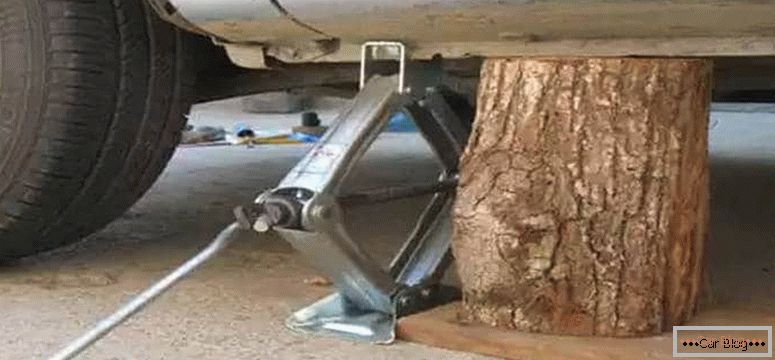
You need to know that while hanging a car you should be extremely careful and provide reliable support with insurance.
We carry out the test, holding the upper side with one hand and the lower side of the wheel with the second hand, swing it towards / away from us. During diagnostics, no backlash or any other sound should be felt. (knock, gnash, etc.). After that, lower the handbrake and scroll the wheel by hand. During rotation, there is also no noise on the working bearing.
Adjustment work
In some cases, replacing the front wheel bearing may be unnecessary. It will be enough to make certain adjustments to restore the functionality of the node. Possible play on the nut of the hub is eliminated with a cap head. To do this, remove the protective cap and tighten the nut until it stops.
After that we try to rotate the wheel and gradually loosen the tension. As soon as the rotation of the wheel becomes free, fix the nut in this position and close the cap. In some cases, this adjustment will be sufficient with a slight development on the bearing.
See also: Major power steering faultsPreparatory operations
Repair work cannot be presented without the necessary tools, so that the replacement of the front wheel hub bearing is successful, you will need the following list:
- specialized puller to dismantle the bearing, it is made independently or purchased in specialized auto shops;
- cap hex head 30;
- medium size wrench set;
- pliers;
- device for dismounting the retaining rings;
- hammer or hammer more than 0.5 kg;
- flat screwdriver;
- several M 12x1.25 bolts 130 mm long, similar are put on the cylinder head tightening;
- standard puller for diameters of 50-120 mm.
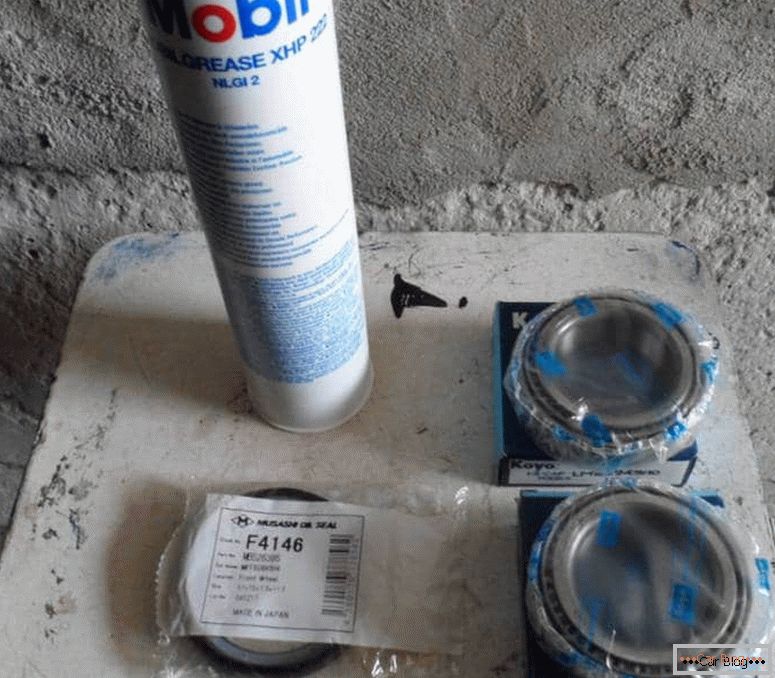
It is desirable to have available the old outer ring from the developed wheel bearing for mounting the new one.
Dismantling
The car must be fixed with wheel chocks, and install the first gear. We remove the cap from the central part of the wheel, and then with the help of a hexagon head loosen the nut. At the next stage we raise the front part of the car with a jack.
To facilitate the load on the anti-roll bar, we install strong supports for both sides. Such an operation will provide more convenience during dismantling.
First option
We unscrew the bolts holding the wheel, remove it and the brake pads guide, as well as the brake disc. It is desirable to hang the guide with the caliper on the spring to secure the hose.
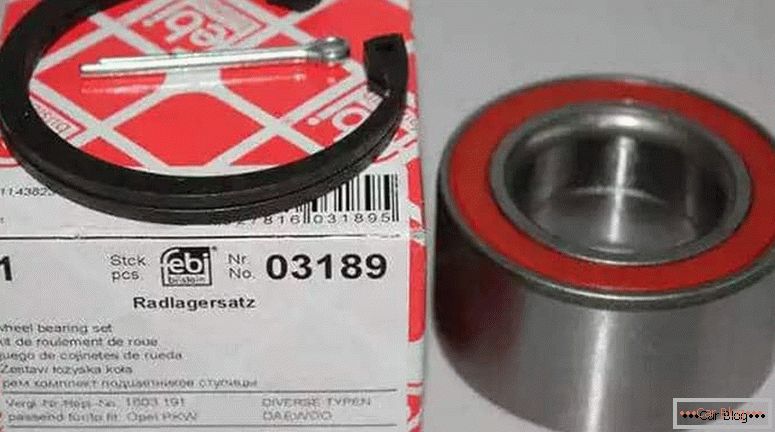
Unscrew the nut that blocks access to the bearing, and remove the washer. Put the prepared long screws into the holes for the brake disc. Screw them into the hub to such an extent that on the reverse side they are 1-2 mm. With a sharp short blow to the heads of the screws, we press out the hub.
Second option
We dismantle the ball bearing from the pivot arm. The tail part of the outer joint is withdrawn from the bearing race. We expand the hub to lightly knock it off the pivot arm. With the help of special devices get rid of retaining rings.
During the application of the puller to remove the bearing, it is necessary to abut the threaded part in the inner race. The latter almost always remains in place during this operation.
-
- Step 1. Loosen the nut.
-
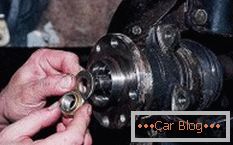
- Step 2. Remove the puck
-
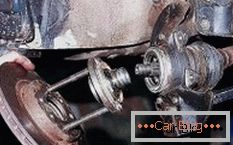
- Step 3. With the help of bolts we tear off the hub
-
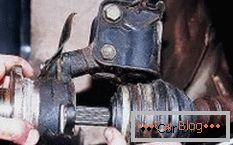
- Step 4. We press out the hub
-
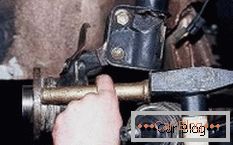
- Step 5. Knock out the knuckle.
-
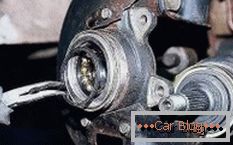
- Step 6. Remove the retaining ring.
-
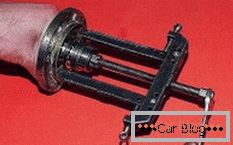
- Step 7. Use the puller to remove
Without a puller a flathead screwdriver is used, with the help of which we get rid of the dirt-protection washer, and with a hammer and chisel we remove the second ring. Places where burrs or burrs may form after such installation should be treated with an emery paper or fine file.
Third option
Having got rid of the wheel, we unscrew the nut on 30. Remove the hub completely and put it on a support to dismantle the clip. It is possible to carry out knocking out with the help of the old developed cage. It will move the rigidly mounted bearing. A standard puller can also be used for the operation. The hammer must be used carefully so as not to damage the hub.
Installing a new bearing
We assemble the structure in the reverse order of disassembly. Previously, we remove all old grease produced from the installation site. We also wash the parts from other contaminants.
Lubricate the seating and mating surfaces and press-fit the bearing rings into place. Apply lubricant to the separator and insert the ring. We press the gland and install the hub on the workplace, fasten the caliper.
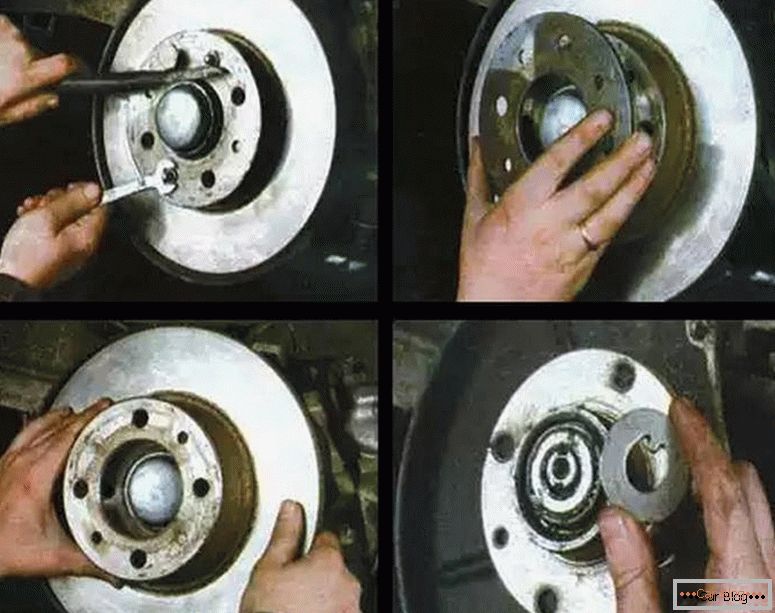
Bearing installation
Tighten the new nut on the hub until it stops, and gradually loosening we find the moment when the wheel will rotate freely, but without play. At this point, fix the locknut with protruding lobes.
Under the cap apply a new lubricant, after removing the old resignation. For this fit "Litol 24"which can be found in any auto shop. We mount the wheel and lower it from the jack. After a short period of operation, the unit needs to be inspected and diagnosed for play. In some cases, adjustment is required.


