Situations when the driver of the car "did not fit ...", "did not notice ..." is not at all uncommon. As a result, there is trouble in the form of dents, scratches, cracking or chipping of the paintwork. Another participant in the movement may also be the culprit (you can take money for repairs though) or “evil rock” in the guise of a pebble, who decided not to fly at the right time.
In any case: the problem arose and it needs to be solved. It helps local painting of the car, more precisely, the damaged body parts. Indeed, why repaint, for example, the entire wing or trunk lid? It is long and expensive ... A small (local) area is damaged, which means that the painting must be appropriate - local.
Content
- 1 What to do in each case
- 2 Technology spot painting car
- 2.1 Workplace preparation
- 2.2 Preparation for local painting
- 2.3 Direct execution of spot painting of the car
- 2.4 If the color of the car is metallic or mother of pearl
- 3 Some nuances of local car painting
What to do in each case
First of all, do not panic, but quickly repair the damage in order to prevent the development of a corrosive focus. To do this, you need to dismantle the overhead elements if they interfere with inspection and further repair. Then thoroughly wash and dry the desired part of the body. Now we can estimate the scale of the “catastrophe” and understand what to do. The following options are possible:
- Dents that do not lead to a violation of the paint layer. It is necessary to try to level them by squeezing out or gently tapping with a mallet on the back of the part. If the dents are gone and the paint remains in place, then the repair is completed. Periodically it is necessary to glance at this place: the paint may crack or peel off later.
- Shallow scratches in the thickness of the paintwork. If only the lacquer is damaged, then polishing is necessary. In the case of paint damage, you can retouch the scratch with a special pencil sold in auto shops. The choice is made according to the number of color specified in the passport of the car or on a plate under the hood. It is necessary to degrease the surface and walk 2-3 times on the scratch, allowing each layer to dry. Repaired place to polish.
- Deep scratches across the entire thickness of the paintwork (to metal), chips, cracking / swelling of paint (it will have to be removed, and this is equivalent to chipping) - signs that require a local painting using a smooth transition. Another common name for this method is spot painting.
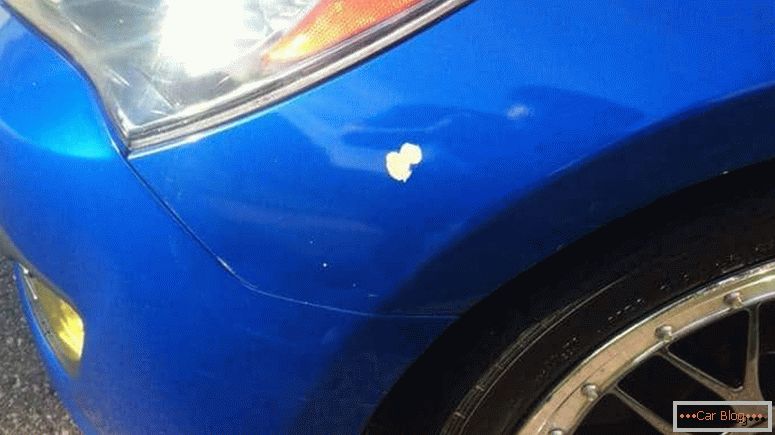
Local car painting is advisable in case of a small area of damage.
Local painting can significantly save money compared to a complete repainting of the body parts. But it should be used only in cases when the size of damage is no more than one third of the area of the whole part.
Technology spot painting car
Painting technology can not be called complex. She also "does not pull" on laborious. But to have certain skills is very, very desirable. For example, spraying paint and varnish in thin uniform layers in a strictly limited area. You can gain experience on an unnecessary piece of metal, experimenting with the thickness of the paint, the thickness of the applied layer, the distance to the surface, the air pressure in the spray gun, etc.
See also: How much is it to paint a car completelyWorkplace preparation
The room should be spacious enough to provide free and convenient access to the repair area. Before starting work, it is necessary to do the cleaning so that the dust remains as little as possible. Particular attention should be paid to lighting, the spectrum of which should be as close to natural as possible. The damaged part of the body should be clearly visible, there should be no shadows or, conversely, glares, reflections. It is better to use special lamps.
Preparation for local painting
Prior to painting you need to perform the traditional list of operations:
- removing old paintwork;
- rust removal;
- anti-corrosion treatment;
- padding;
- filling with initial and / or finishing composition;
- grinding leveling layer putty.
All works are interspersed with degreasing White spirit. Part of the operations is performed if necessary and can be skipped in a particular case. These operations are not considered in this article, since usually do not cause difficulties for motorists. It is more important to tell about the method of spot painting.
Directly do a spot paint on a car
If you do a spot painting of the car with your own hands, then you need to go through several basic steps. Each of them has its own tricks and secrets.
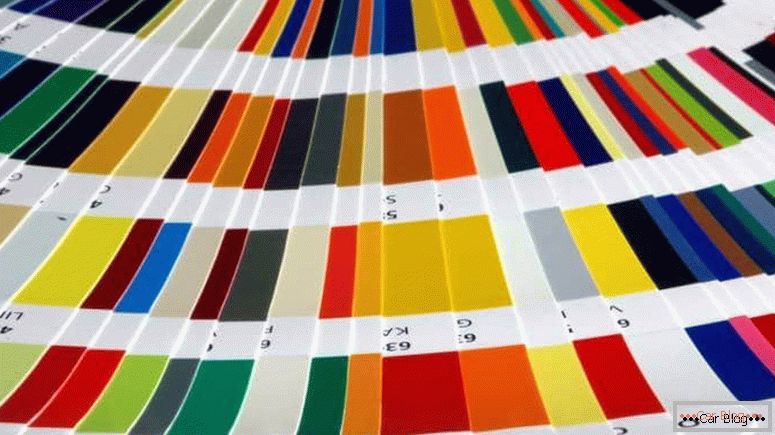
Spot painting a car with your own hands is impossible without professional tinting
- Color matching paint (tinting) determines the visibility (prominence) of the repaired area against the background of the native factory coating. Therefore, the tinting should be performed by a qualified car service specialist by the serial number (code) of the color. If the car has been operated for more than 7-8 years, then it is better to drive it into service in order to compare the resulting shade with the body color on the spot. It is recommended to do this from those considerations that over the years the color of the paintwork may change (fade, dim) due to storage conditions, atmospheric influences, dustiness of the region.
- Coating protection the car around the repaired area is made by wrapping paper and tape. Between the boundary of damage and tape, there should be 2-3 mm of the factory color.
- Gloss removal From the left strips of native color it is best to produce using Bright Bright scotch tape (Scotch-Brite ™ - a type of 3M abrasive material) It turns out the so-called matting risk.
- Paint application it is carried out by three-four thin layers. Each new layer should slightly overlap the previous one, increasing the surface grip (this is the transition paint over the paint). Exposure between application of layers should be approximately 30 minutes (specified according to the manufacturer’s instructions) for the paint to dry. The last 1-2 layers are lightly sprayed on a matting risk.
- Varnishing performed by applying two layers of varnish on the dried paint. At the same time, it is necessary to capture a narrow strip of factory varnish (painting by transition over varnish). To do this, you must first remove the protective tape. If desired, it can be re-glued to a new place, expanding the working area and protecting the rest of the surface from lacquer. After the varnish has dried, remove the adhesive tape and apply a finishing coat on the border of the new-old varnish. To complete the finish layer, the lacquer is diluted with a solvent in a 1: 1 ratio.
- Polishing it is produced in order to visually hide the repaired area, making it indistinguishable from the factory paintwork.
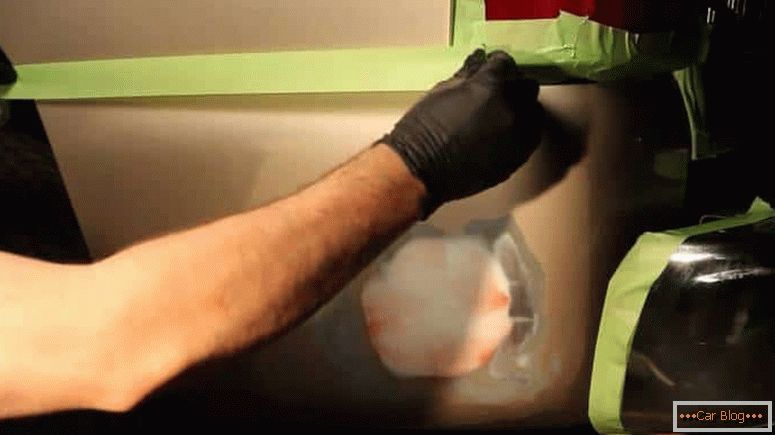
A surface that will not be painted must be protected from accidental paint.
If the color of the car is metallic or mother of pearl
In this case, local painting is performed using the same technology as described above. The only difference is the application of additional layers of Binder - a binder composition without color, which is used as the basis for automotive paints (in particular, metallic nitroenamels). The first layer is sprayed onto the prepared surface before applying the paint (it is also necessary to cover the matting risk). The second - in paint, before varnishing. The first layer of the binder fills the micro scratches, creating a perfectly smooth base for coloring. This, in turn, allows the grains of metallic powder (for example, silverfish) to go in a homogeneous mass, not to "sink" in the irregularities. The second layer creates the necessary transition (the binder can be diluted with 50/50 solvent). With this technology at the border of the transition does not appear dark band.
See also: How to know the color of the car on the Vin codeLocal dyeing for mother of pearl is made in three layers:
- Nitroemal of suitable color (so-called substrate).
- The paint is prepared by mixing the binder with kseralik in the ratio of 1: 1. Kseralik (ksiralik) - the coloring pigment on the basis of aluminum oxide. Selection of pigment should be performed in the service station.
- Varnish
Everything is sprayed with overlap of the previous layer. The substrate must seize the matting risk.
Some nuances of local car painting
- for matting, you can use a water-based matting paste or sandpaper with a grain size of at least 600 (800 is better);
- the ground must be chosen as close as possible to the color of the car;
- It is better to apply the paint with the help of a compressor and a spray gun (it is also a paint spray gun, an air gun, an airbrush, a spray gun, a spray gun). This will significantly improve the quality of local painting, reduce the consumption of paints, save time;
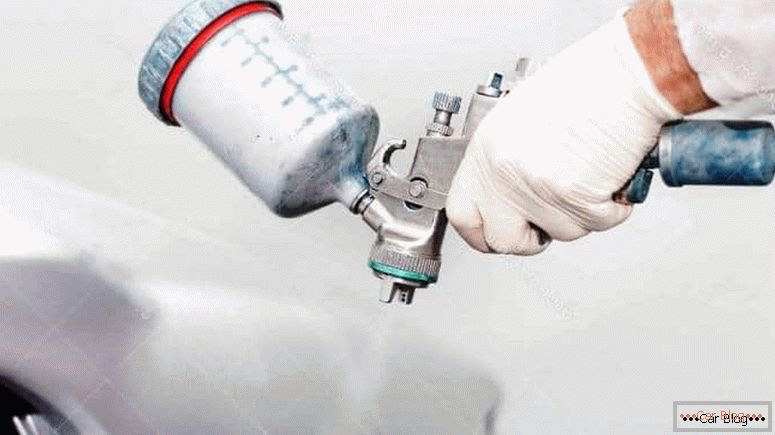
The use of high-quality tools will provide high-quality spot painting of the car with their own hands
- it is convenient to use kits for local painting of the car, which includes airtight containers with paint, varnish, (sometimes binder), various tips (provide adjustment of the layer thickness and uniform spraying);
- instead of the last layer of varnish, you can use a clean solvent - this eliminates the need for subsequent polishing;
- If the spot painting of the car occupies a rather extensive area, then it is better to varnish the body part as a whole;
- the application of each new layer of paint and varnish coatings is desirable to be preceded by surface treatment with an antistatic agent;
- dust that has fallen into place cannot be touched until the freshly applied layer completely dries. After that, polish the area.
The implementation of a smooth transition solvent can afford only the master pro. If you do not rank yourself to them, then do not risk it: as if you did not have to start everything from the beginning, but already in a larger area.
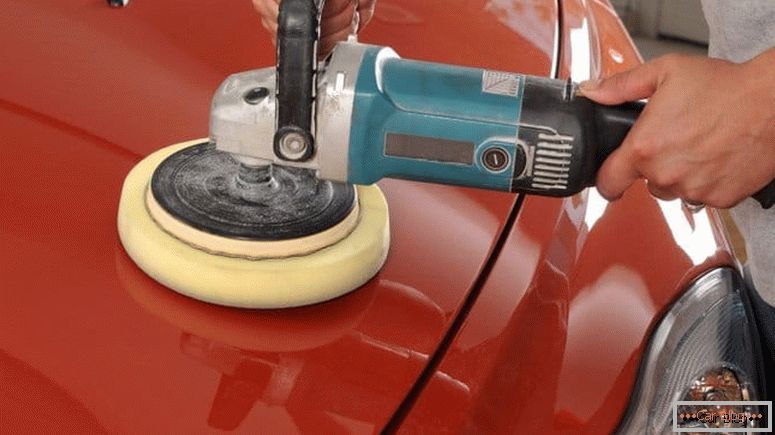
Polishing является заключительным этапом локальной покраски методом плавного перехода
The above technology can be successfully applied to the local painting of plastic parts of the car.

