It's no secret that plastic parts used in most machines quickly lose their appearance and are highly susceptible to damage. In this regard, most motorists master the painting procedure and carry it out independently. Today we will talk in detail about painting plastic car interior with their own hands.
Content
- 1 We understand the car parlor
- 2 Painting the part with paint from a cylinder
- 3 Paint the elements with a brush
- 4 Choosing paint
- 5 We repair plastic in the passenger compartment
- 6 Paint the steering wheel with your own hands
- 7 Repair of leather interior
We understand the car parlor
Keep in mind that painting the car with your own hands will require you to dismantle many parts. You can use both available tools and special tools. Remember that at the end of the painting will have to install all the parts in place, so be careful with fasteners and remember their location. This can help you phased photographing.
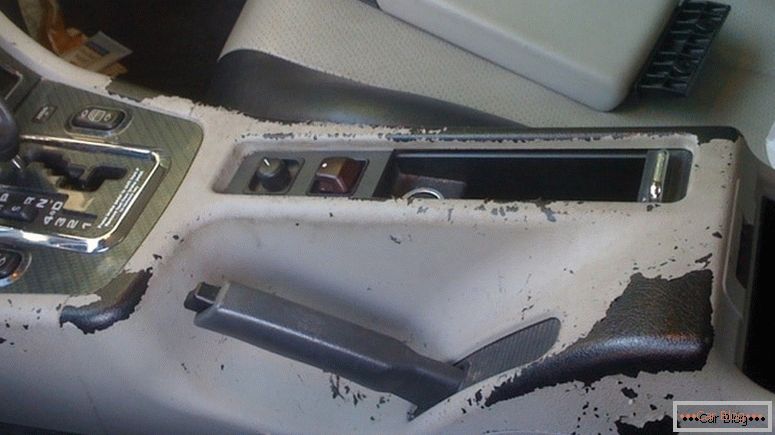
Peeling paint plastic passenger compartment
Painting the part with paint from a cylinder
The painting procedure itself is fairly simple, but it requires some preparation. Now we will look at this important process step by step:
- After successful removal of parts, you must select the room in which the painting will be made. One of the most important conditions is dryness and cleanliness, and dust should not fly in the air. Check the selected room, you can slightly wetting the floor.
- Next, you must be sure to degrease the surface with a solvent and antistatic composition. That is, first wipe the desired area with a degreasing liquid, and after complete drying, apply the second tool. This will protect the part from dust and lint.
- Smooth the surface with a putty. The process is very important, since in the future the paint will need to be applied on a completely flat surface without defects. It is necessary to choose the maximum plastic filler and apply it to the surface with a thin layer using a spatula. Please note that the layer of putty should be quite thin, but at the same time hide all cracks and stuff.
- Leave the surface to dry, and then grind with coarse sandpaper (with an abrasivity index of 300-400). To get the work of the highest quality, you can use water to soften the sandpaper.
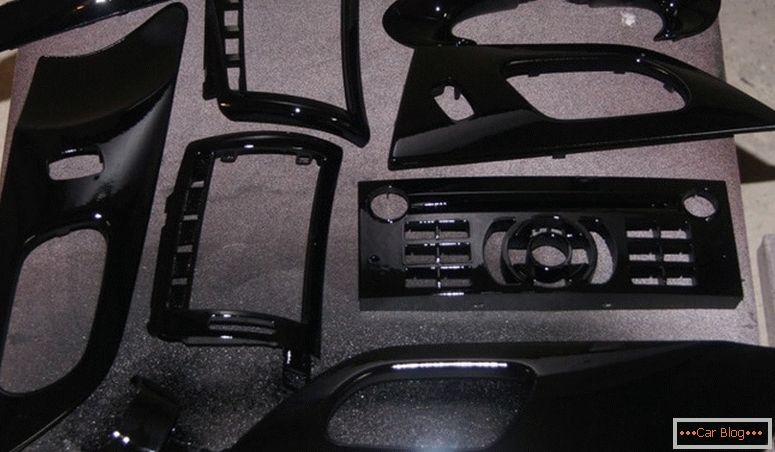
Removed and painted plastic parts
- Again, degrease the surface and work it out with a primer. It is necessary to apply the mixture in two layers and make sure that no smudges form. Then leave the part until dry.
- We mount the surface so that the paint better lays down and holds on. For this we need an emery paper with an abrasiveness index of 400-500.
- We start painting. The most convenient way to use paint from a can, however, if you have a lot of experience, then you can use a brush. The process of painting will require a lot of time and patience, because you need to choose the right color of paint, as well as the distance to spray. It is best to practice on the inconspicuous part of the part to achieve complete color matching. We wait until the painted part is completely dry.
- At the very end we apply a special varnish for plastic and polish it with a special paste. Thus, the surface of the part will no longer be damaged.
Tip: Try to buy all the necessary materials and tools in the same store, as in this case you will be sure that they are suitable for each other. In addition, choose paint and primer depending on the type of part that you are going to process.

Painting interior frame
Paint the elements with a brush
Once again, we advise you to resort to this painting method only if you have experience, because sluggishness or inaccurate movements will lead to the formation of ugly bulges or color mismatch. In general, the process of applying paint with a brush has nothing to do with the previous method described in this article. Pay attention to some features of this method:
- it will take more time to wait until the paint is completely dry, therefore, responsibly treat the processing of the room from dust;
- need to apply the thinnest layer of paint. To do this, it is necessary to press the brush well, do not pick up too much paint and act quickly so that the paint does not dry out during work;
- each time you paint, carefully remove the excess paint from the brush on the edge of the can;
- hold the brush at the same angle while painting all surfaces.
Choosing paint
The choice of paint (its types, colors and textures) is a very crucial part of the whole process, since the success of the whole event depends on it. Specialists often use acrylic paint, which has a number of advantages. It is very resistant to external negative influences, and also very plastic when applied, has excellent color reproduction and is well fixed to the surface. Among its disadvantage can be identified that it should be applied only with an airbrush with the addition of a plasticizer. The second type of paint is a special automotive paint, which is produced in cylinders. Since its composition is different from acrylic, for its application you will have to more carefully prepare the surface of the part. In case of an error, there will be a mismatch between the color of the element and the color of the remaining surfaces of the car, and spots and a grid may appear.
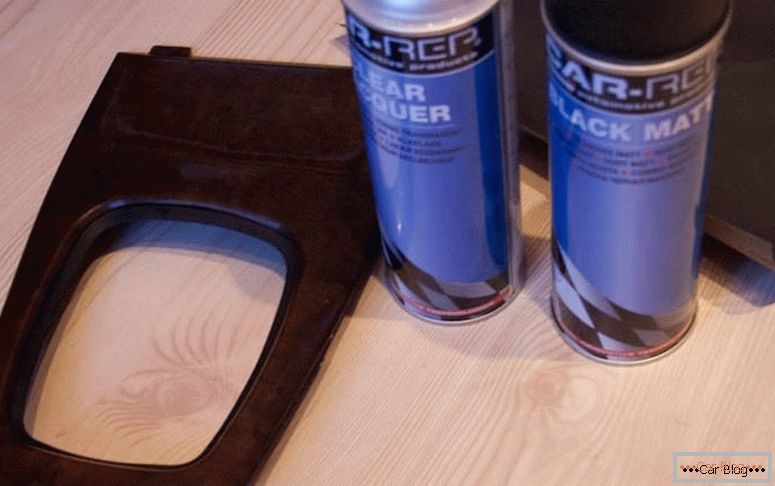
Plastic painting by balonchik
We repair plastic in the passenger compartment
There are cases when simple processing and painting of the part may not be enough, and one or another element needs to be restored. For these purposes, use fiberglass and epoxy resin with hardener. First, cut the fiberglass into pieces of the desired size, then soak the resin and attach it on the inside of the joint. To seam turned out the most durable and reliable, it is better to lay it overlap. Next we spat the joint from the outside, grind it, and then act in accordance with the scheme presented above.
Paint the wheel with your own hands
The steering wheel is no less important detail with which the driver "contacts." Because of this, the steering wheel rim wears out quickly and is rubbed off with fatty particles. Some motorists prefer to protect the steering wheel with a cover, but this overshadows its appearance. To abandon the covers, you can learn to restore the steering wheel yourself. If you want to transform this element of the car, then you need:
- Remove the steering wheel.
- We isolate the surface, which will not be painted with scotch tape.
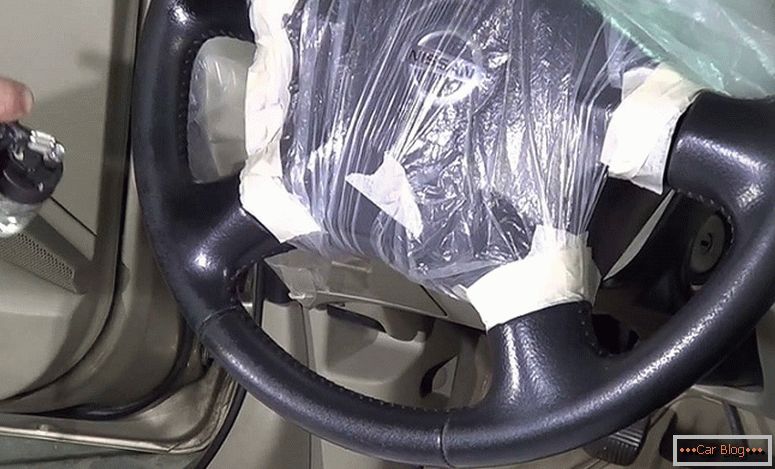
Steering wheel painting process
- View the item for the presence of cracks and dents.
- We clean the irregularities with sandpaper and erase the old coating. The cleaned surface will bond better with the new paint.
- Next, go through the paper again, only softer.
According to the type of steering wheel, select the desired paint in advance. That is, for an element with vegetable or combined tanning, we take “soft” paint, and “hard” coatings are more suitable for chrome tanning. If the steering wheel is made of leather, then first pass a degreasing compound or any cleaner on it. Paint coats are applied with a roller or brush, but some manufacturers provide immersing the steering wheel completely in paint for 5 to 12 seconds. Since this is inconvenient, we follow standard paths. Apply several subsequent layers. Wait until the previous layer dries is not necessary.
Interior leather repair
Go to the elements of the skin, if any. Work on the repair of leather interior parts is carried out in several stages:
- Before you start to restore the elements, you need to treat them with a degreaser, and then go through the cleaning agent. After wiping the composition, the paint will fit perfectly on the surface and not create stains.
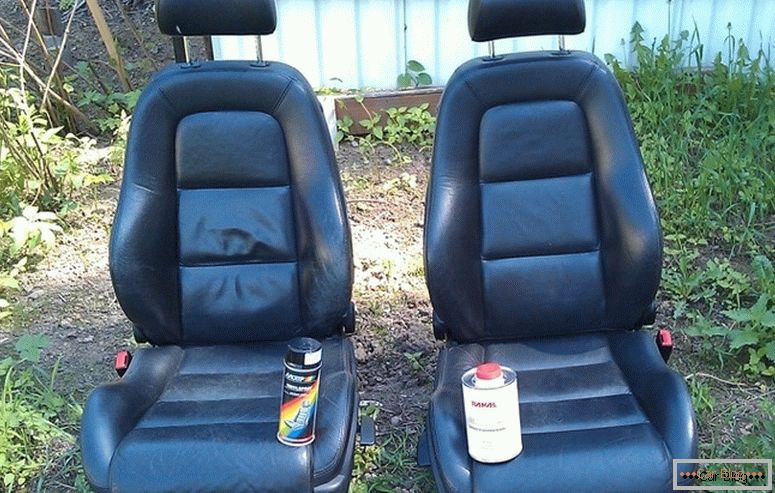
Painting leather seats
- If there are lint on the material or the threads have moved away, it is necessary to cut them with scissors.
- After we pass on the surface of sandpaper.
- When the above points have been passed, place a reinforcing mesh inside the hole and pour a mixture of imitating leather into it. The mesh is needed so that the mixture does not flow into the inside of the seat. We sprinkle the powder from the top of the net, glue it and lay the Teflon lining. We perform several smoothings with thermo-iron. When the powder turns into a sticky texture, take the bags for cooling and pass them through the places of adhesions. Straighten the bags with flaws, then remove the Teflon lining.
- Those places that are already glued together, pour liquid bigel and make again maneuvers from 4 points. Thereby giving the product the original form.
- In the end, after complete drying, paint the surface. Modern paints are composed of oils that do not allow the skin to dry in hot or frosty weather.
Strictly following the instructions will significantly update the old look of the car. The details of the salon will be given a new life, and the service life will increase.


