Make your car individual will help different ways. Someone independently pulls the salon, someone seeks to attract the attention of homemade spoilers. But more often, the interior lighting with his own hands makes an unforgettable impression on others.
Lights can statically burn or blink to the music playing in the cabin. You can experiment in different ways, the main thing is to use the necessary durable materials. Then it will not be necessary to alter the scheme or its individual nodes often.
Content
- 1 Location of additional lights in the interior of the car
- 2 Applicable Materials
- 3 neon light design
- 4 Design of additional illumination from LEDs
- 5 Conclusion
Location of additional lights in the interior of the car
When a polite interior lighting of a car is made and mounted, it is possible to select the ways of its activation. As an automatic on / off switch contacts are used, coming from the door opening sensor. You can also use the remote control to turn it on at the right moment for the driver.
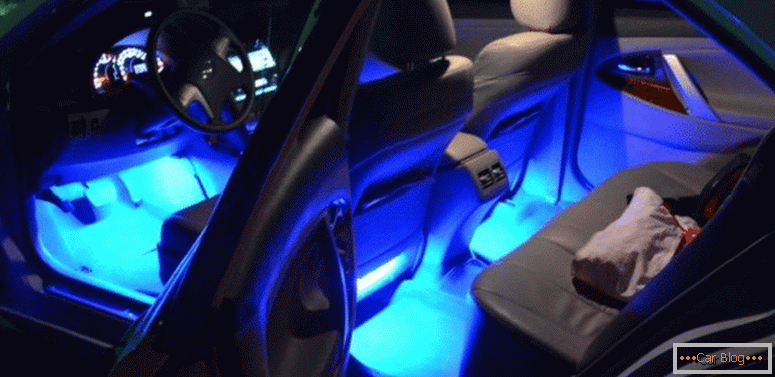
Light strips are placed around the perimeter of the opened door, under the feet of passengers, to the places of standard lighting devices, along the dashboard, inside the trunk, as well as in the rest of the cabin areas.
Applicable Materials
High-quality car interior lighting is distinguished by the competent and appropriate use of light materials. The most popular light sources are LED and neon lights. Let us examine the characteristics of both light sources.
LEDs:
- often used due to its ease of installation;
- most stocking materials can be locked with built-in adhesive strip;
- each LED takes up very little space and can harmoniously fit into the internal zone of standard lighting;
- mounting tape with LEDs made of durable material;
- LEDs have a long service life;
- Fast response at startup allows you to use them as light music.
You need to know that before installing additional lighting of any type, you must disconnect the battery from the network.
Neon lights:
- neon lamps have a bright unusual light;
- with proper operation, the service life may be longer than that of the LEDs;
- adapted for use in static conditions, without fast on / off cycles;
- sensitive to mechanical stress;
- installation takes longer than LEDs.
Neon lighting design
Beautiful lights in the car with their hands will be using the combined elements. For example, decorate the lower part of the interior with neon lights, and decorate the side and top with LEDs. However, it is not necessary to abuse such a design element. We must arrange everything so that harmony is created.

You need to know that an excess and a large number of motley lights look tasteless.
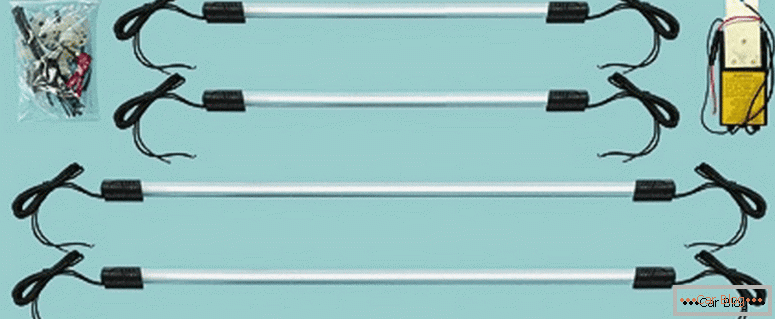
For installation of both types of additional lighting, we select materials. You can start from the bottom of the cabin, where neon lights are placed. To install will need:
- a set of several neon lamps;
- aluminum mounting corner;
- plastic clamps;
- self-tapping screws for fixing.
In the standard selling set of neon lights for the car, a plug is often mounted for connecting the voltage through the cigarette lighter socket. For this operation, it is not required, so you can pick up a set without it, or cut off this plug as unnecessary, and clean the ends of the wire to connect in the circuit.
We measure the length of the aluminum corner for mounting it under the torpedo, saw off to the desired length and fasten it in the bottom. Usually mounted first under the glove compartment. On the clamps fix the lamp, directing the future radiation in the right direction. Repeat the operation in the driver's zone and in the rear passenger seats.
Behind the corner should be placed in such a way as to protect the lamp from impacts and accidental crushing. For this corner fix free edge up.
The ends of the wires increase, isolate in the joints, hide under the upholstery and bring under the torpedo to connect to the scheme. The simplest option is to connect to the door opening sensor or for general lighting. It is necessary to inscribe in such a scheme a separate switch for additional lighting.
Registration doppodsvetki of LEDs
Interior lighting using LEDs begins with the preparation of materials. Two types of tape RGB or SMD are most commonly used. The second option will be a bit more expensive, but it’s easier to work with. Additionally, you can pick up individual LEDs for selected areas, but more laborious car owners are already working with them.
See also: How to sheathe the steering wheel with your own skin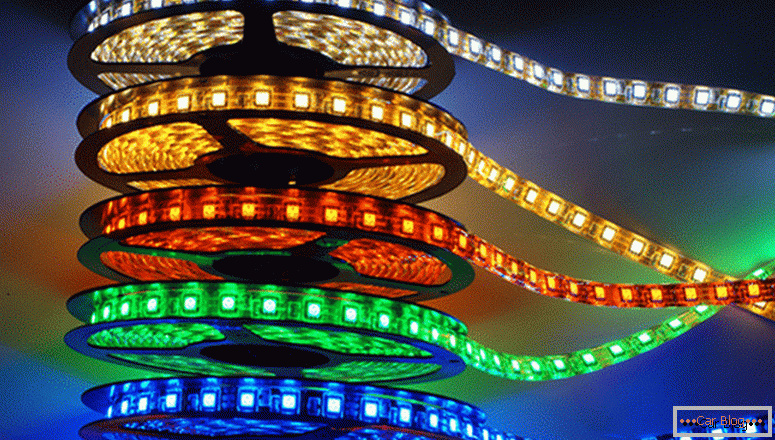
To replace the standard lamp suitable LED counterparts with the same designs of the cap. In other places holds the tape. Before installation, it is necessary to measure out the required length of the strip and cut the necessary piece of tape at fixed points. There are usually hard spots in the tape to break the chain. It is for them and should be divided length. If you cut not according to the specified labels, then there will be no contacts to which soldered wires for further wiring.
The tape is usually distributed on the torpedo, the entire perimeter of the roof and down on the racks of the doorways. Fixation is carried out using double-sided tape attached to the LED highway on the back side and covered with a protective strip. We tear it off and fix the LED strip.
You need to know that when working with LEDs it is necessary to strictly observe the polarity, otherwise they can be spoiled.
By the open ends of the LED tape we solder the wires and close the connection with a shrink film. Warming up the brazed place covered with a film using an industrial or domestic dryer, close the contacts from oxidation. Next, we output the ends of the wires in the same way as with a neon connection.

When using RGB tapes, you can assemble the circuit using the RGB controller.
Conclusion
Installing polite lights in the car does not take much time. With all the tools and materials you can spend a few hours on installation. As a result, the car will become more attractive and get individual features.

