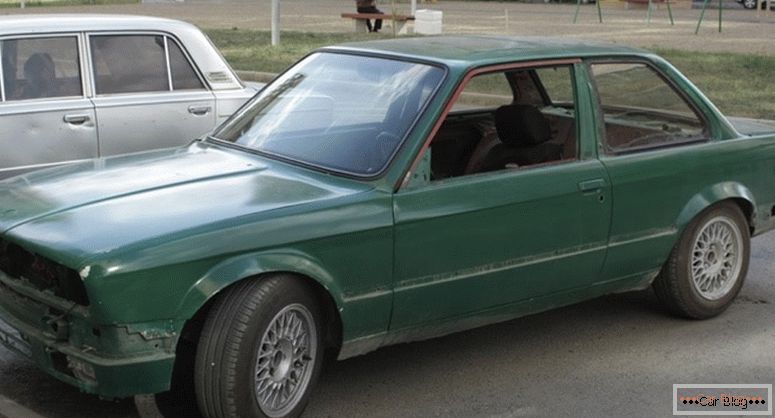
Every motorist from time to time has the idea to refresh the color of his used car, give it a new and prestigious look, protect it from scratches and rust. Usually, the lack of practice in painting works and the terrible stories of other car owners about the difficulties of painting a car with their own hands usually stops. And yet how to paint the car yourself, provided that you are not deterred by some difficulties and you like to do everything yourself and carefully? Arm yourself with confidence and our step-by-step guide on painting the car body with your own hands and get down to business.
Content
- 1 Preparing a car body for painting
- 2 Eliminate and clean up body defects
- 3 Remove defects and dents by car putty
- 4 Complete the preparation of the body for painting with their own hands.
- 5 We paint the car body by hand
Preparing a car body for painting
Before painting the car with your own hands, you must clean the body of dust and dirt, for this, use water and detergents. Bitumen and fat stains are easily removed from the body with the help of white spirit or special automotive tools, the choice of which is now very large. Never use gasoline or solvents to clean the car, as this can seriously damage the car's surface.
The first stage - the analysis of the car (removing the bumpers, optics)
Next you need to remove from the body all easily removable parts: exterior lighting, including direction indicators, headlights and position lamps, grille, also do not forget about the front and rear bumpers. If the wheel arches of your car are protected, we also recommend removing it. All parts removed from the machine must be conscientiously and carefully cleaned of rust and grease stains and set aside.
Eliminate and clean up body defects
After the initial preparation and cleaning of the body, you can begin to eliminate scratches, dents, chipped paint, cracks of other cosmetic defects of the body. To do this, the car should be put in a brightly lit place and carefully inspect all the defects of the paintwork. If you find a defect, circle it with quick-drying acrylic paint in an aerosol or with ordinary chalk (white or colored). Next, you need to repeat the procedure for inspection of the body and mark the missing flaws. The study of cars for defects will be of the highest quality if carried out in daylight.
The second stage - straightening and stripping of metal
Using a sharpened screwdriver or chisel, sandpaper No. 60, 80 or 100, you need to carefully clean the flawed places down to metal. To avoid wasting materials and your own strength, try to maximize the surface of the cleaned surface to the size of the defect itself. We recommend smoothing the edges of the cleaned surface as much as possible, avoiding sharp transitions between the painted part and the clean part. This will further facilitate the painting of the car at home and will make the part cleaned of paintwork even and imperceptible. You will feel when you reach the perfect transition. Check the smoothness of the transition stripping, you can simply move your hand over the surface. A simple feeling can determine the difference in height to 0.03mm.
See also: Fan windshield washer nozzles: advantages and disadvantagesAfter all these manipulations, you must again carefully clean the treated surface of the body from dust, thoroughly degrease the stripping points with white spirit and dry.
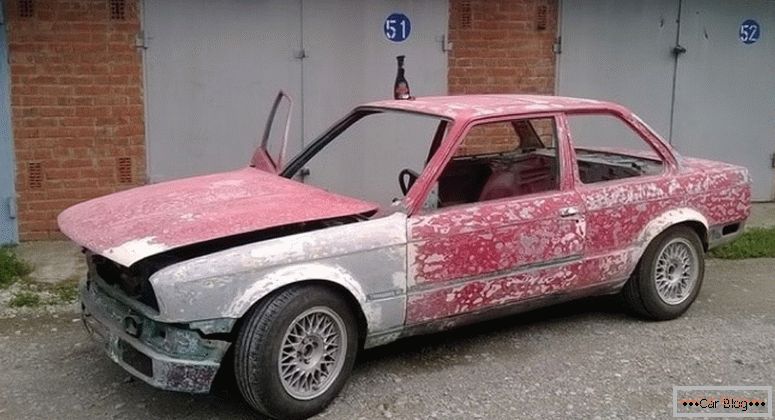
Sometimes, when carrying out a major overhaul of the body or in the presence of a large damaged area, you need to completely remove all the paintwork from the car. This is a very painstaking process, which requires a lot of patience and care from non-professional avtomalyarov, but if you want, you can do it.
Remove defects and dents by car putty
Before painting the car, eliminate all the flaws and dents on the car body. To do this, you need to purchase in any auto shop rubber and metal spatulas, the dimensions of which correspond to the area of putty, and synthetic etheric car polishing. Putty must be chosen very carefully, it must have a high elasticity, increased adhesion to a variety of surfaces, evenly distributed and give minimal shrinkage after complete drying. Also, it must have the strength and well processed.
The third stage - puttying the body and removing ideal surfaces.
To effectively mix the putty with the hardener supplied, it is better to use a special spatula, which can be made from a metal plate 1.5 x 1.5 cm in size and 1 mm thick. Dilute putty in a ratio of 2 tbsp. spoons putty on a strip of hardener size of 30-40 mm.
Very quickly mix and proceed to puttying, trying to apply the mixture as evenly as possible. For this we carry out a spatula on defective areas with cross movements. Please note that a chemical reaction occurs in the stirring mixture for putty and heat is generated, therefore we recommend using the mixture immediately after preparation and not more than it can be harvested quickly. Twenty-five minutes later, lumps will begin to appear in the putty, and it will become unsuitable for its intended use.
Apply successive layers of putty better with a frequency of 15 to 45 minutes. During this time, the putty does not have time to harden and is ready to apply the next layer without sanding.
Then you need to wait until the putty has completely dried (30-50 minutes at + 20 ° C and medium humidity). To check the readiness of the filler surface, it is necessary to run a slightly emery paper 80 on it. The hardening is finished if the putty is covered with flour and the area to be treated becomes smooth and even. Often it is necessary to clean several times, periodically filling the surface, until absolute smoothness is achieved.
Note! Moisture on the surface should be avoided before sanding. The ingress of water can adversely affect the quality and structure of the filler and impede uniform smoothing and grinding.
If the putty of the car body is made with high quality and meticulously, painting the car with your own hands will not present difficulties and will give a wonderful result. In order to check the quality of the putty, you need to wipe with a cloth, soft cloth or fiber dipped in white spirit, then apply the treated surfaces gently and unhurriedly with a thin layer of primer from the can, slightly grabbing and not plastered parts of the car body. Defects that have become visible after priming should be promptly corrected by repeating the treatment.
See also: How to wash a carWe complete the preparation of the body for painting their own hands
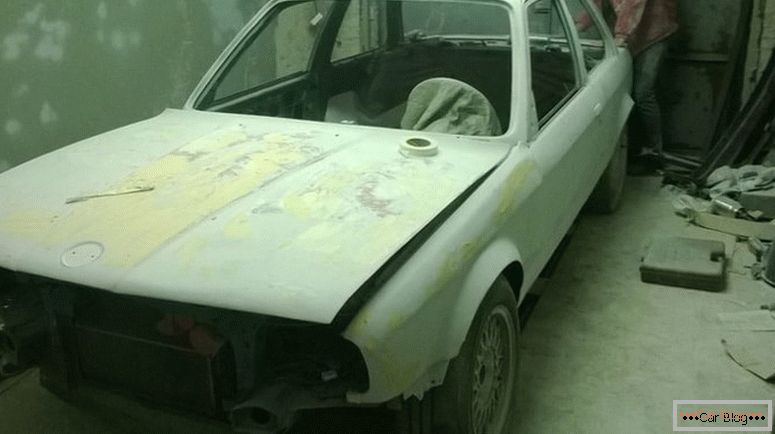
Now the car body should be evenly treated with emery paper with a fraction size of 1200 to the state of uniform dullness of the entire paintwork.
At the final stage of preparation for painting, you need to wash the car again, prime it, wipe the place of putty with white spirit and you can begin to glue the body parts that cannot be painted (glass, handles, headlights, wheels) with paper and painting tape. It should be noted that the difference in height of the parts that will be painted and will not be about 0.02 mm and can catch the eye.
The fourth stage - covering the body with primer
Again, we clean the car body of dust, wash out, blow out dust from all openings: from under the hood, trunk, etc. Dry and wipe with a dry cotton cloth to control the cleanliness of the surface. In this preparation for painting cars completed.
The room in which the painting will be made should be spacious enough and bright. Before starting to paint a car, it is necessary to carefully clean and moisten all surfaces in the room, as during the process of painting, dust can rise and settle on fresh paint.
When choosing enamel for your car, please note that the paint to be purchased should be subject to drying without baking, in natural conditions.
We paint the car body by hand
We are approaching the final and most important part of painting cars. Automotive paint must be diluted with a solvent according to the instructions on the can, approximately 2 to 1. You can check the desired thickness by dropping an iron rod with a diameter of 1-2 mm in a can with enamel, and noticing the frequency of paint dripping from a metal rod raised above the container. The ideal thickness of enamel is achieved at a flow rate of 3-4 drops per second.
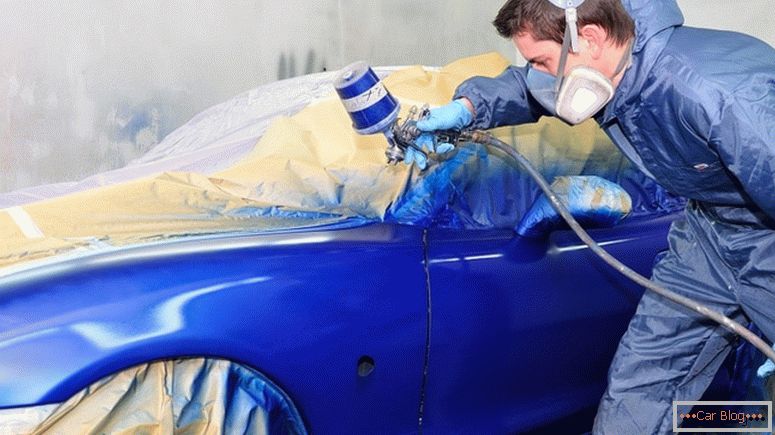
The fifth stage - directly painting the car from the spray gun
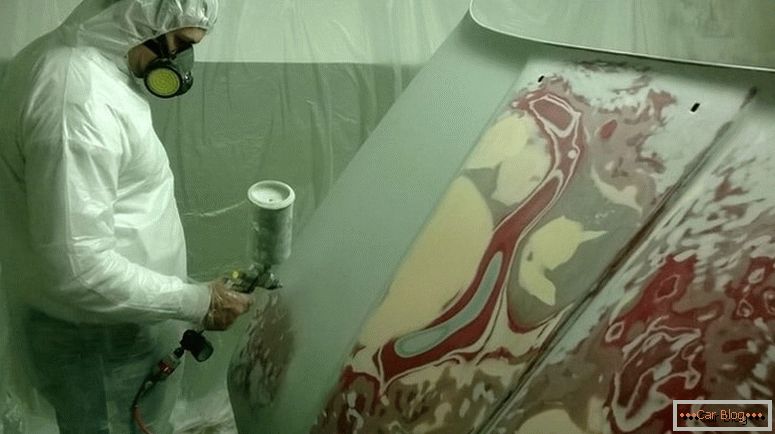
The finished paint must be filtered through a special filter funnel (for lack of one, you can use a nylon stocking) to avoid clogging of the spray gun. Next, pour the enamel into the spray gun tank. The best result can be obtained using a spray gun with nozzle number 1.4. The paint is applied to the body, usually in three layers, with a working pressure of 2.5-3 atm.
Pay attention to the car painting technology! You need to start coloring from the roof of the car. Then the paint is applied on the hood, then on the trunk, and last of all on the sides. Before applying the next layer of enamel, you need to carefully review and make sure that the previous layer has already dried. Spray gun for painting cars should be at a distance of 15-25 cm from the painted surface.
The time of complete drying of the paintwork on a car varies from 24 to 36 hours, depending on the temperature and humidity of the room where the paint was made.
Note!
- It is possible to work with paints and varnishes only in the aired room;
- Wear a respirator when painting a car;
- Do not smoke in the room where the coloring is made;
- The compressor should be placed outdoors.
Qualitatively paint the car at home is quite real. It is only necessary to approach the process responsibly and carefully and observe precautions.

, what to do?")
