Replacing the headlights is made for various reasons. To avoid paying workers for work, you should do it yourself. Replacing the headlight on the reno sandero stepway is quite simple. Correctly following the instructions, any motorist can do the job efficiently and without any investment.
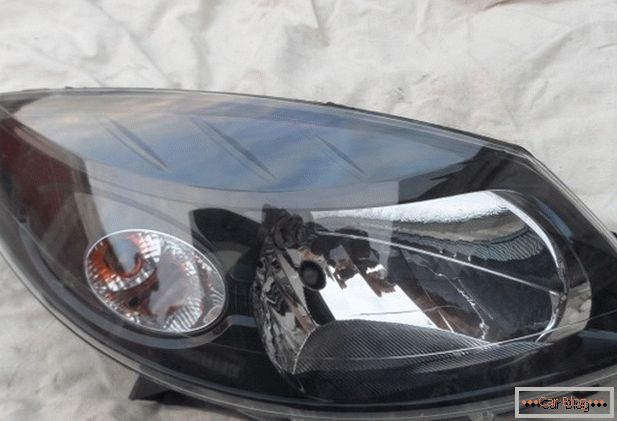
Step-by-step instruction
To replace the front headlights, you must remove the front bumper.
- Screws and clips at the bottom of the bumper are unscrewed;
- Unscrew the bumper from the fenders;
- We remove the liner, and unscrew the bolt (10), which attaches the bumper to the wing;
- Unscrew the lower mounting bumper (3 pcs.);
- Unscrew the bolts from above, under the hood (4 pcs.);
- If there are fog lights, they must be disconnected before removing the bumper.
- The headlight mount is based on three bolts in the top, bottom and side. Turn them off.
- Extend the headlamp and remove the rubber cap, set it to the side.
- Then we lift the cable of the corrector up, but we hold the corrector itself.
- We take out the headlamp and disconnect all connectors (on the turn signal, side lamp, and dipped).
- Is done. Headlamp in your hands.
- Install the new headlamp in the reverse order of this list.
Model year
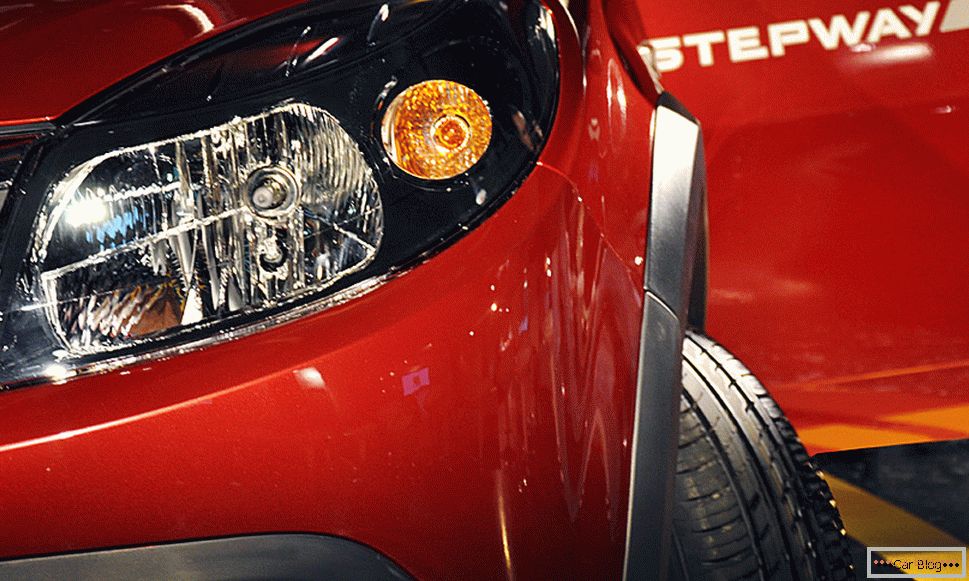
On the reno sandero stepway, the principle of removing the headlamp does not depend on the year of manufacture. Attachment points on all models of the Logan family are almost identical. Independently to replace headlights to the motorist will not make big work. This does not require special knowledge and the use of complex equipment. All work is done using a set of keys, a form screwdriver and a screwdriver puller for pulling clips.
See also: Preparing a car for the winter with your own hands
Features of the installation of new lights
At installation it is necessary to pay attention to the guiding elements, which should correctly fall into place. If the car body is smooth and has no damage, then when installing a new headlight, no adjustment of the guides is required and the headlight will rise like a new one. The design will sit in its proper place, and slightly pushing on it, three bolts should be screwed in from three sides, as was indicated in the step-by-step instructions.

