Removing the propeller shaft
When removing the drive shaft, you need to pay attention to the differences of two types:
- Shaft, which consists of two elements and a bearing in the center.
- Shaft with two bearings in the center and with the additional hinge.
Before lifting and installing a vehicle, you must follow safety rules and ensure that it is installed in a stable manner.
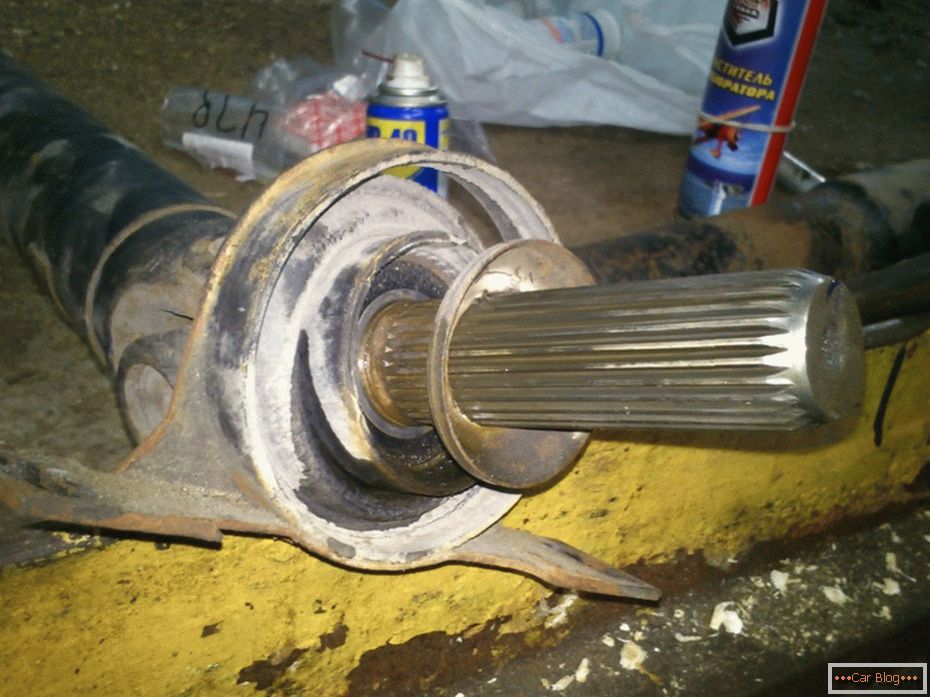
- Unscrew the mounting bolts and disassemble the heat shield screens from the bottom.
- Remove the elastic coupling, for this purpose it is necessary to turn off fixing bolts. During removal, it is necessary to fix the drive shaft in a stationary state with a strap wrench.
- The next step is to separate the shaft and the rear axle. In order to avoid problems with the installation of the cardan is not the same place, it is necessary to mark the location of the cardan and gearbox elements with paint before disassembling.
- Take the gas wrench or large wrench and release the ring on the sliding part.
- Next, you need to press the flange of the cardan from the rear axle with a screwdriver and move the shaft.
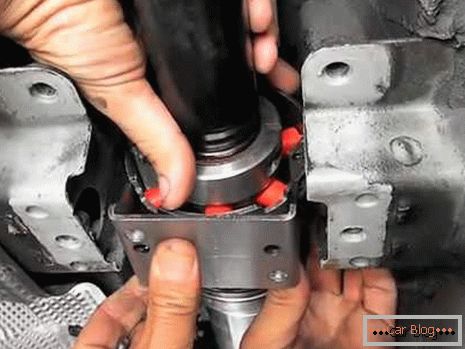
- Slightly unscrew the central bearings, while the cardan must be held, as it can fall and deform the rubber cover.
- Likewise, loosen the second bearing ring, push the front flange back to move the shaft.
- Lightly point the shaft down to the center bearing location and pull it out of the axle on the gearbox.
- Close the hinge of the angular velocity from dust and debris in any way you can: a lid, a package, etc.
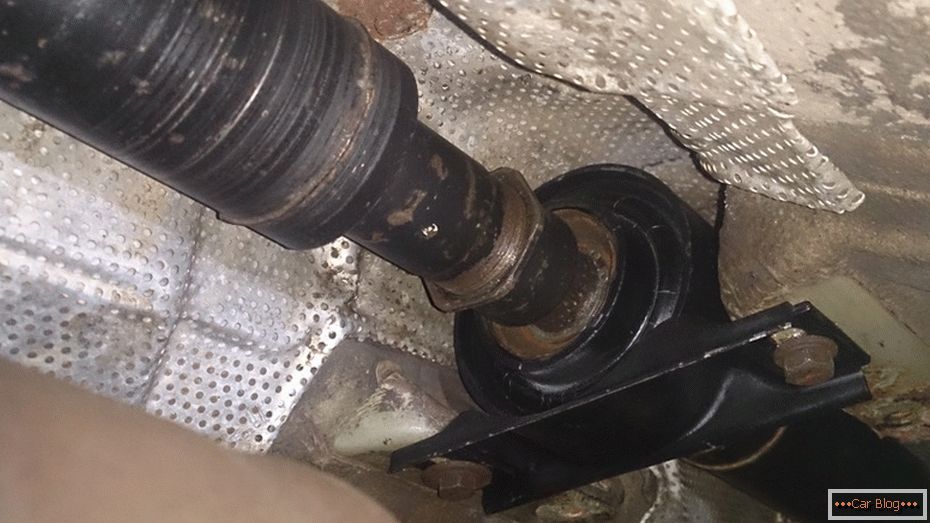
Installing the drive shaft on the BMW 3
The driveshaft is precisely balanced, so you can only change it in the kit. A unit that has signs of wear for secondary installation is not recommended. If necessary, before installing it should be centered on the service station.
- In cases of presence on an elastic coupling has pores or mechanical damage, it should be replaced. New parts should be installed so that the arrows point in the direction of the levers.
- It is important to check the centering of the cardan for damage, then lubricate it with a special lubricant, the damaged part should be replaced.
- Install the gimbal first in the prepared element and bait bolatmi.
- Connect the shaft with the gearbox, bait the threaded ring.
- Using self-locking nuts, evenly tighten the universal joint to the rear axle.
- Screw the driveshaft to the gearshift. The tightening force depends on the type of bolts.
- Secure all bearings with a force of 20 N / m. Use 10 N / m to attach the threaded ring.
- Scroll heat shield.
