You can not imagine a car without headlights and taillights. Nissan Tiida is no exception! The lights are designed to illuminate the space in front of the car, and the lights help the cars behind them understand what car is in front of them. Of course, the lamps in the headlights burn out over time. You should not go to the salon to replace them, because the broken brake lights can cause a dangerous situation on the road. It is best to immediately replace the lamp yourself.

How to implement it? To get started in the Nissan Tiida operating manual, get acquainted with the exact brand and model of lamps used in your configuration. Do not neglect this point - in different years in the Nissan Tiida and the types of light bulbs installed different. The lamp should be put exactly the recommended brand model. Otherwise, you risk in the near future to face its burning out or even short circuit.
When replacing lamps, the car should be on a flat surface. Look in the hood, there are four branded pistons attached protective cover on the battery - remove it. Now you need to bend the edge of the cover, pull the caps out of the grooves. On the battery, find the negative terminal, then disconnect it. Due to this, you will avoid a short circuit. The upper radiator cap is also removed, everything is simple - plastic clips are used as its fastening. Here you can help slotted screwdriver. Plastic is very fragile, so do not rush, act carefully!
See also: How to unlock the alarm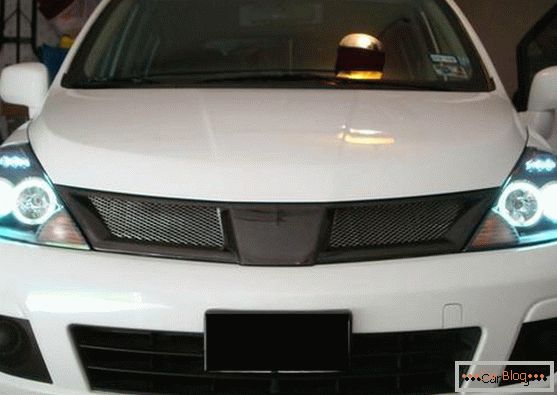
The front bumper hold the upper clips, they must be detached. Under the wheel arch liners you will see a bolt on each side - they connect the wing with the bumper. To remove them you need a head for 10 with a flexible extension, because it is very difficult to get to the bolts - the place is not very convenient. Pull out the bumper so that it is attached to the apron only on the lower mounts.
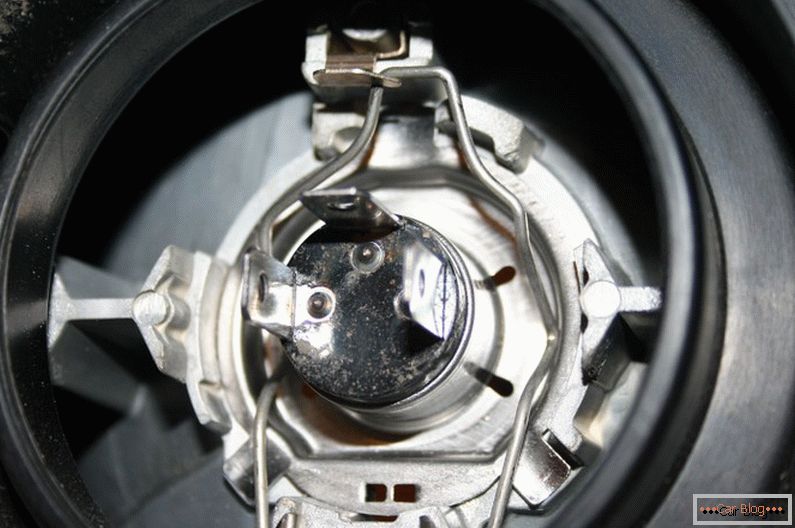
The headlight bolts are unscrewed with a similar key by 10. Pull the headlamp out of the socket so that it “leaves” a couple of centimeters. Again, we must act with extreme caution, otherwise you could harm the plastic retainers. The plugs are disconnected, and the plastic cover with the springs of the headlights are removed. Now pull out the old lamp from the cartridge, in its place, install a new one right away.
It remains to make the assembly in the same way, only in reverse order. After the replacement of the lamps, it is necessary to check the performance of the headlights and adjust them. There is nothing difficult in replacing the lamp, with proper experience you will be able to perform this procedure in minutes!


