The netting in the trunk of the car is a pleasant trifle that will be useful to any driver. This accessory will allow you to bring perfect order in the luggage compartment and not worry about the safety of the transported items.
Content
- 1 Grids for transportation of things
- 2 Attachment options for separating, floor and vertical grids
- 2.1 Grid floor type
- 2.2 Vertical grid
- 2.3 Dividing grid
- 3 Nets for dogs
- 4 Self-fabricated mesh
Grids for transportation of things
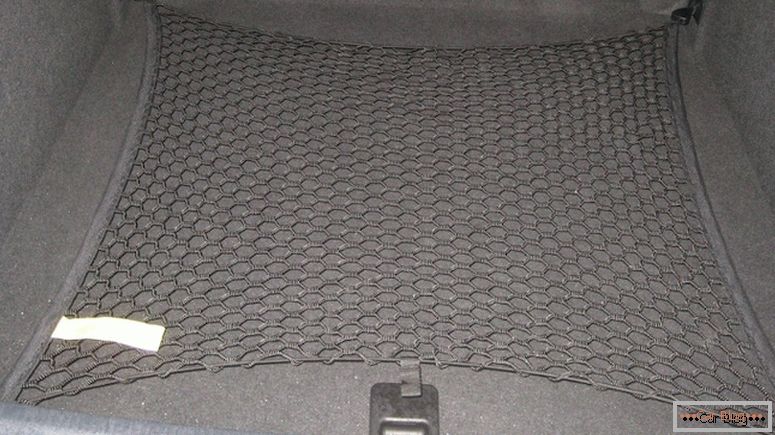
Floor mesh in the trunk
Considering the functional purpose, method and place of installation, automobile nets are divided into several types. Depending on the location, they are:
- Vertical. Tightly press objects directly to the walls of the trunk, thereby eliminating the likelihood of their unwanted movement. Such products help to effectively use the vertical space along partitions or walls. In this case, the main part of the luggage compartment remains completely free.
- Horizontal. Pressing things to the bottom of the trunk. Grids of this type reliably fix the transported cargo. Even while overcoming difficult sections of the road objects remain in place.
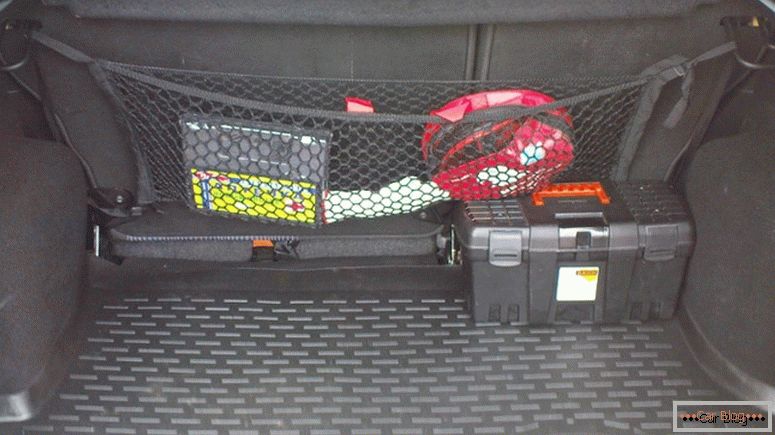
- Small vertical. Allow to close free niches. Thanks to this accessory, it is possible to place containers with tools or automotive chemicals in niches. Also set the grid and on the vertical walls of the trunk. They perform the function of ordinary pockets.
- Universal. Fasten in absolutely any place. It can be a floor, a seat back, a side niche or a wall. Installation is performed using hooks or ordinary velcro. Often they are small in size and capable of tightly wrapping objects. Fixing such a product inside the trunk of a hatchback or station wagon can significantly save space.
Attachment options for separating, floor and vertical grids
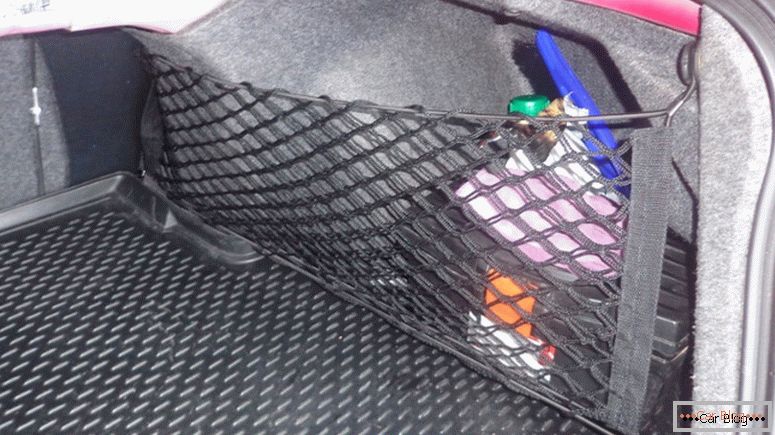
Vertical grid для ниши багажника
Fix the net for the trunk in several ways:
- With the help of regular mounts. They are provided by the car manufacturer when designing the luggage compartment.
- For special technological holes.
- On the back of the seat in the place of fixing its vertical position.
Almost all products are sold with hooks for fastening. They simply hook on the tabs or prepared technological holes. For the most part this applies to models intended for installation in niches. Just near such recesses may be small holes, while inside the niche you can also find any brackets.
Fasteners that come with the accessory are screwed to the walls of the trunk or directly to the floor with reinforced metal screws. This procedure is performed with a conventional screwdriver or drill with a special nozzle.
Grid floor type
With a simple set of materials, the organizer in the trunk can be made by hand
Floor mesh in the trunk бывает прямоугольной или квадратной, а ее края обработаны прорезиненой тканью. Такая особенность позволяет изделию растягиваться и плотно облегать упакованные предметы. Горизонтальные модели классического вида производят с ячейками величиной 50х50 мм, используя эластичную нить диаметром 5 мм. В эластичных сетках в каждую ячейку вплетают резиновую нить толщиной 8 мм, которая необходима для фиксации крупных предметов большого веса. Такие нити значительно увеличивают величину предельного растяжения изделия. Есть и более дешевая, «экономичная» модификация сетки. Ее делают из нити диаметром 3 мм.
Vertical grid
Products of vertical type are constructively ordinary pockets. They are of various types, which differ in size. The height of the large model is 30 cm, while the product is stretched in length by 150 cm. The accessory is completed with hooks for fastening or is initially equipped with velcro. In the latter case, the pocket is attached only to the back of the seat or in the trunk, if it is sheathed with a suitable material.
Dividing grid
Этот organizer in the trunk of a car имеет вертикальное расположение. Аксессуар устанавливается между багажником и салоном хетчбэка, минивэна или универсала тем самым разграничивая пространство. Ее главная задача – защищать салон от попадания вещей и различных предметов из багажного отделения. Некоторые усовершенствованные версии могут состоять из верхней и нижней части. Первая крепится к потолку и применяется, когда подняты спинки заднего ряда кресел, а вторая часть скручена и закреплена в петлях. Разложив спинки, сетку разворачивают, и затем цепляют верхними крючками к потолку, а нижними к опущенным спинкам. Для более удобной транспортировки и хранения стандартная комплектация предусматривает защитный чехол.
See also: Doing an airbrush with your own handsDog nets
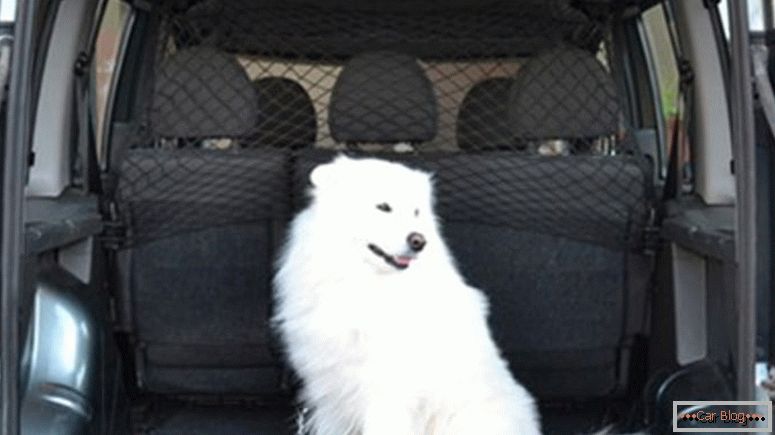
Separate dog net
When transporting dogs in the luggage compartment, you can use a regular or special type net. The optimal solution for a station wagon, minivan or hatchback, will be the separation net or a separate product designed specifically for the transport of dogs. In this function, these two accessories perform the same. The accessory does not allow the dog into the car and allows it to move freely in the trunk space.
There is another model that limits the movement of the animal directly within the boundaries of the luggage compartment. Such a playpen grid is a universal product and is suitable for all vehicles. The only negative is the absence of the upper part, through which a large animal can easily get out. Otherwise, this product perfectly copes with its functions and perfectly retains wool on itself.
Also there are modifications for the transport of animals in the supine position. They are attached to the bottom of the trunk and pull over the dog. In the manufacture of this accessory using elastic fabric. The size must be selected individually for the dog to be comfortable.
Independent production of the grid
Grid in the trunk of the car with his own hands - quite doable task. Take for example the model with Velcro. You need a mesh of certain strength, the right size, as well as velcro and a wide elastic band. To begin with, gently sew the elastic to the long sides of the mesh. Similar actions are done with Velcro, only on the end. At the final stage, it is required to firmly sew the corners of the product. The result is a vertical product that has two side fasteners with velcro.


