The neat engine compartment speaks not only of the car owner’s love of cleanliness, but also of the fact that all systems and components work in concert and without failures. The appearance of oil stains on the cylinder block or other places is an important signal that the replacement of the crankshaft oil seal is required.
Such an event usually happens before the declared hundreds of thousands of kilometers of the manufacturer’s guaranteed mileage. Novice car owners may be afraid of such a turn of events, but the problem is solved fairly quickly. Work can be done independently in almost any garage.
Content
- 1 Causes of problems with seals
- 2 When replacement of glands is required
- 3 Self replacement
- 4 Work with the front oil seal
- 5 Working with the rear oil seal
- 6 Quick dismantling method
Causes of problems with seals
The main reasons for the decline in performance or complete failure of the gland may be as follows:
- engine operation with significant overload, and as a result, overheating of the product and loss of shape or elasticity;
- the use of poor-quality motor oil, not recommended by the manufacturers, or its late replacement, but as a consequence the destruction of the rubber base of the cuff;
- the use of low-quality seals of low-grade material, and as a consequence of the rapid development of the product life.
When replacement of glands is required
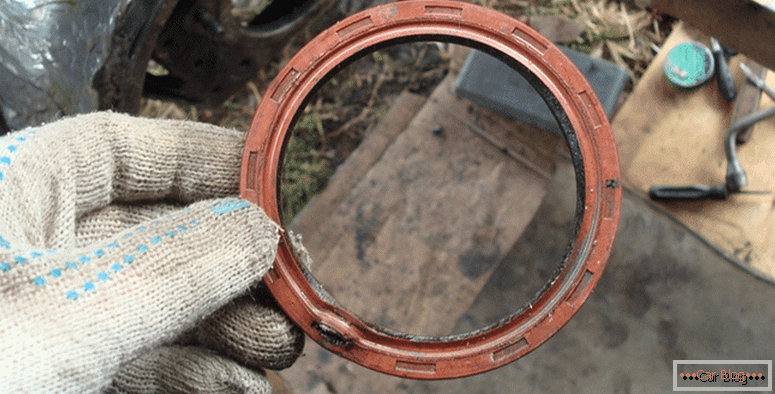
Oil leakage from under the cuff on the crankshaft can be triggered by even a slight offset from the installation location. Since there are two glands on the crankshaft, it is necessary to monitor both sides of the cylinder block.
Gland replacement
With regular non-aggressive car operation, replacing the front crankshaft or rear oil seal is unlikely to be needed earlier than in three to four years.
This period is usually domestic cars nursed. Well, then you should pay more attention to the node.
In addition, the engine oil gets out, poor-quality landing of such annular seals allows fine debris and dust to get into the engine. This adversely affects the operation of the engine and various vehicle systems.
It happens that a new, almost non-working cuff is simply extruded from its seat.
The reason is not in the development, but in the design features of the machine and its operation.
See also: How to get rid of fumesIn winter, the breather may be clogged with a mixture of condensate and waste oil. This prevents the crankcase gases from escaping. But it cannot last forever, and they are trying to find a way for themselves. The weakest link in the gas sealing system is the O-ring cuffs that surround the crankshaft on both sides.
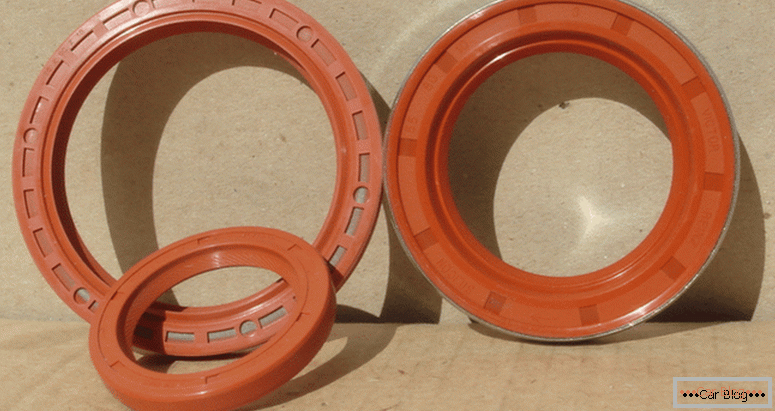
Set of new glands
Through them, there is a "bleed" exhaust. Sometimes such an event significantly moves the cuffs apart and for this reason the engine compartment is stained with used engine oil.
Self replacement
For those who do not know how to change the crankshaft oil seal, we recommend starting with the front cuff. Since this operation is performed a little easier than working with the rear oil seal. This is due to the engine design. Access to the rear oil seal is usually blocked by the clutch basket and gearbox (CAT). Front oil seal is almost in sight.
Experts do not recommend changing one of them without replacing the second.
Therefore, before dismantling it is desirable to stock up on two spare parts. Visually, they differ from each other. The diameter of the front is slightly smaller. On sale they can be found as a pair, and individually.
Before starting work, it is necessary to disconnect the battery, wash the outside of the cylinder block from dirt and oil, set the car to the parking brake.
Work with the front oil seal
Access to replace the front oil seal in the oil pump housing or the front cover of the unit. It can be removed without additional dismantling of the bearing parts, but the variant that the manufacturer recommends is preferable.
-
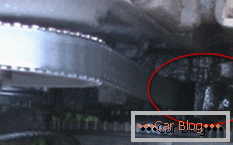
- Step 1. Detecting oil leaks
-
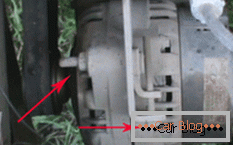
- Step 2. Disconnect the generator drive
-
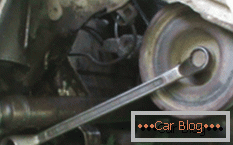
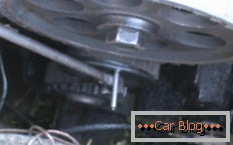
- Sha 3. Need to remove the drive pulley
-
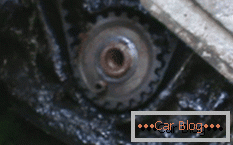
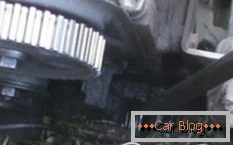
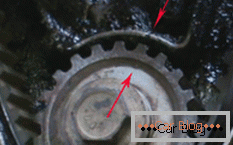
- Step 4. Opening access to the crankshaft gear
-
- Step 5. Removing the gear
-
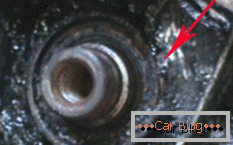
- Step 6. Visual inspection of the damaged omentum
-
- Step 7. Adjustment for belt installation
-
- Step 8. Reassembly in reverse order of disassembly
Consider working with the most popular domestic vases:
- weaken the tension of the alternator belt and completely remove it from the pulley;
- unscrew the pulley nut and remove it from the shaft;
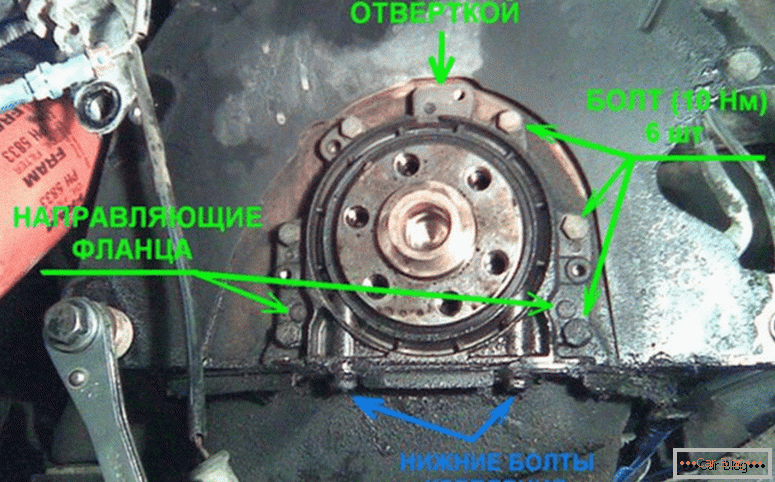
- unscrew the fasteners covers (three lower bolts), closing the cuff;
- transversely mounted engines, such as the VAZ 2110, will need to get rid of the body of the oil pump;
- insert the screwdriver into the opened access and pry it to remove it, moving it off;
- using the mandrel, we mount the new part into place;
- Assembly is carried out in reverse order from installing the oil pump cover.
It is desirable to lubricate the output end of the crankshaft and the outer diameter of the gland with engine oil.
Work with the rear oil seal
Replacing the rear crankshaft oil seal will require much more labor than in the first case. Here you will need to disassemble the universal joint, disconnect the gearbox and clutch housing.
Replacing the gland on the VW Passat
Work is carried out after removing the clip, in which the cuff is mounted.
The algorithm is as follows:
- removed clutch unit;
- unscrew the bolts to remove the flywheel and the casing hidden behind it;
- fasten fasteners with a lid holding the gland;
- A new spare part is being installed and its outer diameter is lubricated.
Everything is going in the reverse order of disassembly. The gaskets under the retaining covers are also changed with the rear oil seals. Old gaskets after installation may lose tightness.
Quick dismantling method
Some specialists offer a risky version of the removal without disassembling the cover. The operation must be carried out directly through an open motor. The method is used to save time. After removing the old cuff on the shaft is installed a new one.
This should be done very carefully so as not to scratch the polished surface of the shaft.
In case of damage to the roughness, the oil seal will quickly wear out, a new leak of engine oil will form and you will have to replace it again.

