Everybody pays attention to the exterior of any car: various body kits, original door handles, spoilers. Separately, we can mention the refinement of optics. Very much like motorists "Angel Eyes", which for the first time introduced the company BMW. After them, of course, automakers began to widely use this development. Angel Eyes do it yourself is easy to install on any car, as you can see. For proper installation, you will need a small set of tools, materials and a bit of patience.
Content
- 1 List of necessary materials and tools
- 2 Step-by-step guide to making
- 3 Installation in optics
List of necessary materials and tools
You should start with the materials that are needed for the work. If you estimate, they are all at home or in the garage. But if you do not want to use used materials, you can easily purchase new ones in the store. So, in order:
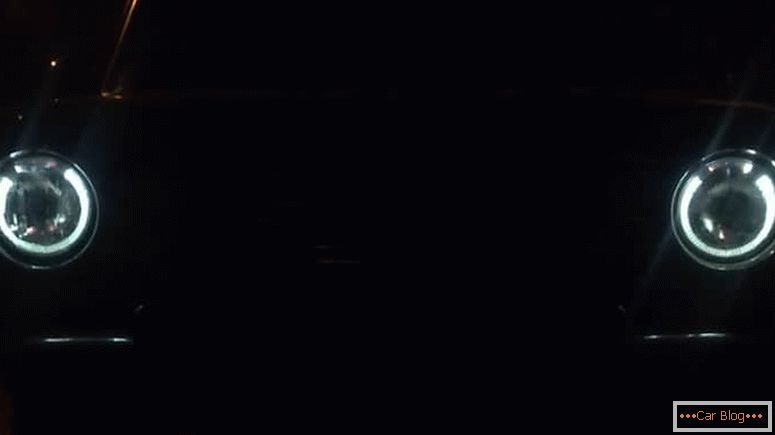
Angel Eyes can be installed in any car with round lenses optics
- Plastic tubes of great length. You can even use plastic wands that are used in modern blinds. For all their characteristics, they are suitable for this purpose, since they do not have a cavity inside, the length is even with a margin, the material is plexiglass.
- At least eight LEDs. These items are inexpensive, take with stock. Perhaps the wrong connection, and the LED burns very quickly.
- Resistors.
- Bank of tin, the shape of which should be round. Pay attention to the walls were strong and not deformed. Its diameter should be approximately equal to the diameter of the headlights installed on your car.
- Dichloroethane.
The tools necessary for the work are in almost any home. Before making angel eyes, read this manual carefully. The following toolbox is required:
- Pliers, tongs, side cutters.
- Drill with a drill, its diameter should be 5 millimeters.
- A set of files.
- 1.5 Volt battery.
- Oven oven (you can use the building dryer). And if there is nothing, then even an electric heater can be adapted by observing safety precautions.
- Glue.
Step-by-step guide to making
Arrange all the tools and materials on the workbench (or on the table) so that there is order and not accidentally lose anything. Order is a guarantee that you will save a lot of time and complete assembly will take place in one breath. The first thing you need is to bend the plastic rods so that they follow the contour of your headlamp. To do this, it is best to heat the tubes with a building dryer. If you do not have this tool, use what is available. In any case, everyone has an oven.
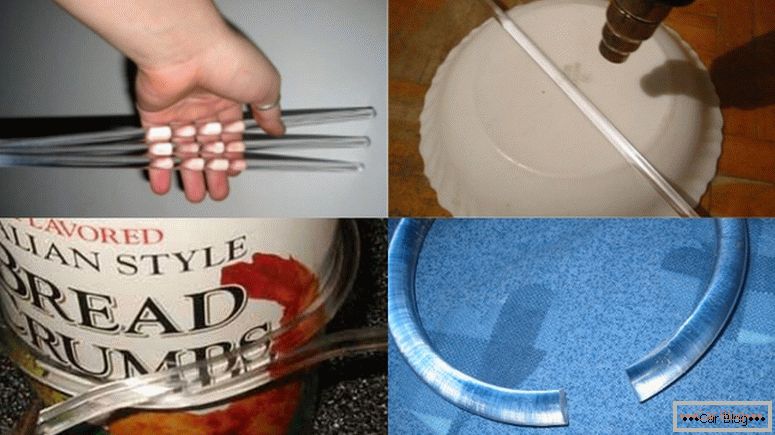
Making a blank from a plastic tube
Теперь вам потребуется банка, которая имеет диаметр, равный фаре. Перед тем how to install angel eyes в автомобильную оптику, необходимо подогнать все размеры. Горячую трубку возьмите плоскогубцами и оберните вокруг этой банки, сделав один виток. Зафиксируйте пруток в таком положении и дайте время остыть. После этого он станет прочным, его можно смело снять с оправки. Повторите данную процедуру со вторым прутком. Главное – не позволяйте ему перегреваться, иначе структура будет нарушена и трубка окончательно испортится. А когда обертываете пруток, делайте это медленно, чтобы он не лопнул от резкой деформации.
You have a new blank - a ring from a tube. It needs a little refinement, getting rid of the edges. The ends should be about three centimeters apart. in no case should they touch. This work is done with a file or file. Now the most difficult stage - notches. The more of them, the more beautiful angel eyes will look on your car. You can choose the step yourself. It can be either 2.5 millimeters or half a centimeter. The first option, of course, spectacular. It is best to start from the middle of the ringlet to ensure a uniform arrangement of the notches.
See also: Which car navigator is better to buyDichloroethane is needed to lighten the edges of the workpiece, which during grinding became muddy and unattractive. One drop at each end is enough to give pristine transparency. Now it remains only to make the seats for the LEDs in the edges of the ringlet. The body of the diode should fit tightly in the hole so that during operation it simply does not fall out. You can check by connecting a finger-type battery. Do not forget to isolate all conclusions. It is possible to use an insulating tape, but it will look unattractive. Much nicer will be the use of shrink insulation.
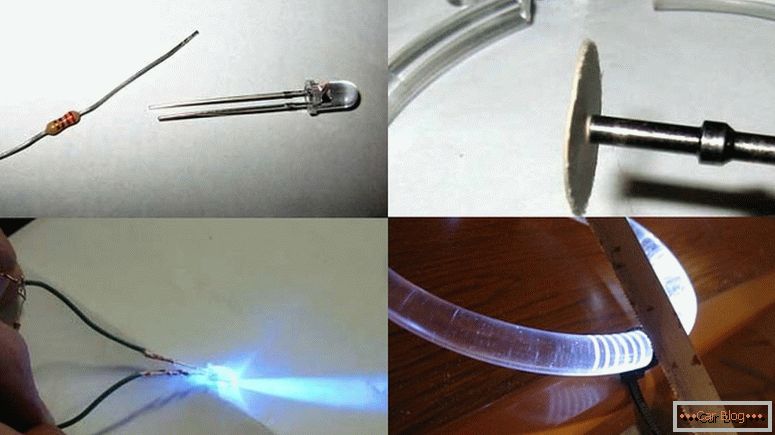
Install diodes and make notches
Installation in optics
Everything, now the most crucial moment - installation on the head lighting, connection and final inspection. Try to disassemble the headlamp of your car carefully so as not to damage it. After all, even for Russian-made cars, the cost of head lighting is very high. If there is dust on the reflectors, remove it with cotton wool or cotton buds. It is undesirable to process chemical reagents, as well as to touch the reflectors with your hands.
An easy installation of angelic eye is to apply a sealant to the glass surface. Please note that those notches on the ring, which you did, should look out, and not at all on the lighting lamp. Otherwise, the light will be scattered incorrectly, creating a lot of problems not only for drivers traveling on the counter, but also for you. Wait about half an hour, or you can wait an hour so that the sealant is completely dry. After you can collect the headlights and connect the Angel Eyes to the power system - instead of the bulbs. Only the positive output include in the circuit through a constant resistance.


